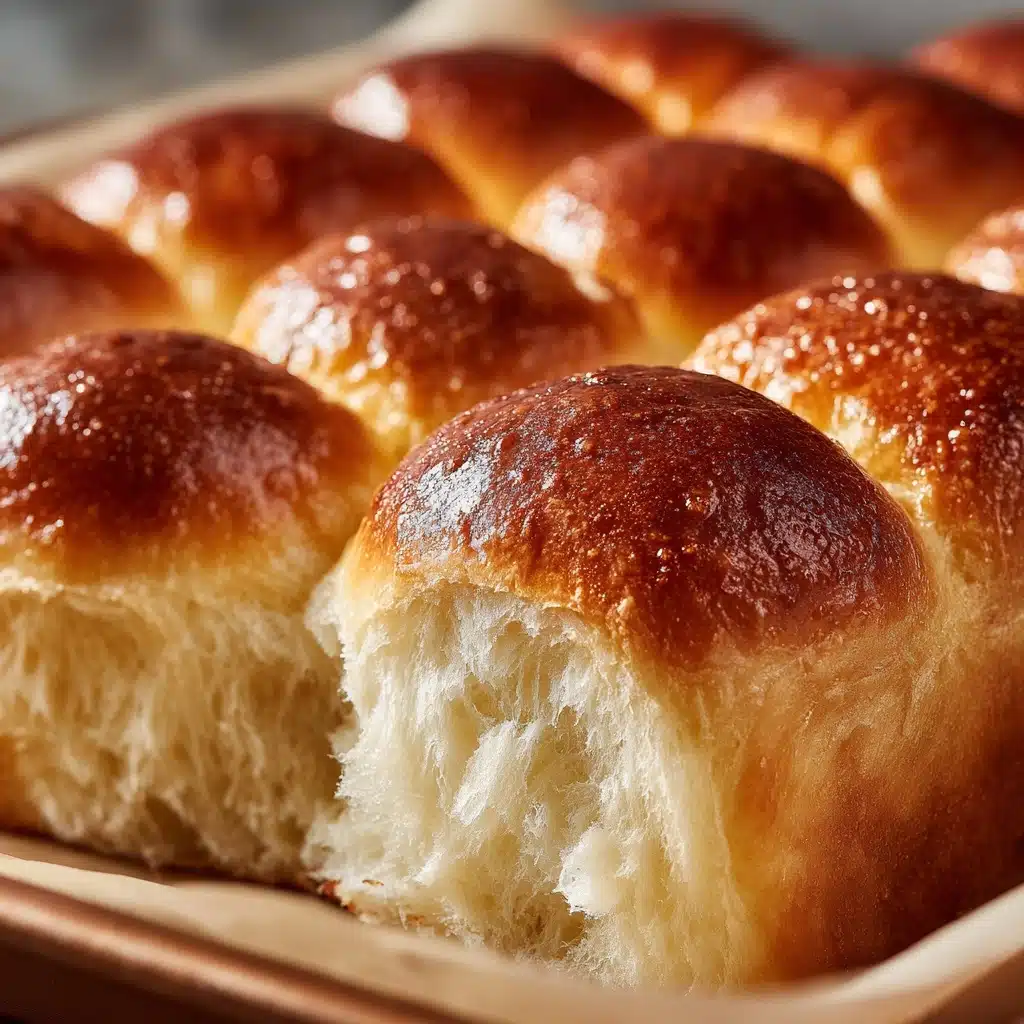
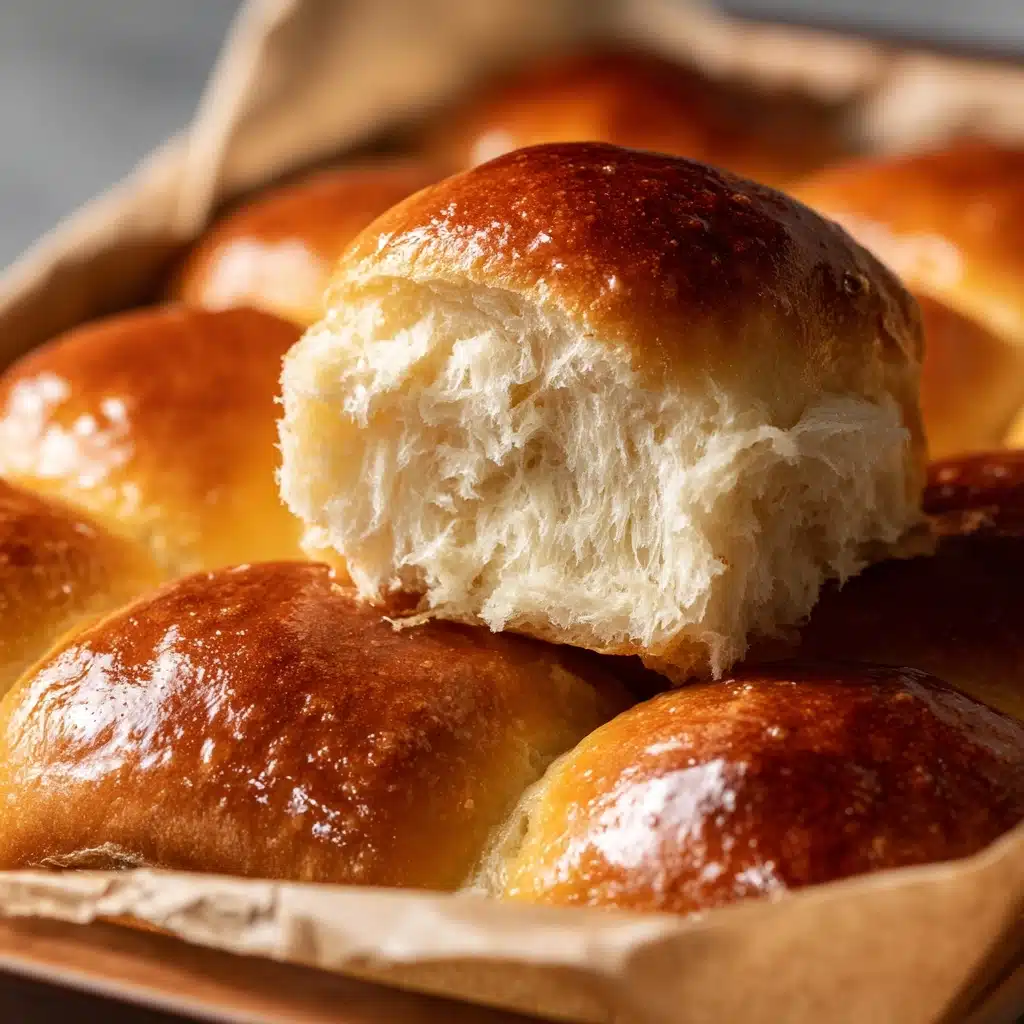
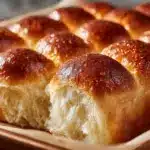
Buttermilk Rolls Recipe
Buttermilk Rolls are the kind of homemade treat that will make your kitchen smell like a cozy bakery and instantly win over everyone at the table. These pillowy, golden rolls have an impossibly tender crumb and a subtle tang from the buttermilk, offering buttery flavor with the lightest hint of sweetness. Whether you’re serving them at a holiday feast, a laid-back brunch, or as a warm side for soup night, Buttermilk Rolls have a way of making an ordinary meal feel like a special occasion.
Ingredients You’ll Need
There’s beauty in the simplicity of these Buttermilk Rolls—the ingredient list is short, but each one truly matters. Together, they create rolls that are rich, fluffy, and delicately flavored, perfect for pairing or eating all on their own.
- Buttermilk: The star of the rolls! It brings a distinctive tang and helps achieve that signature soft texture.
- Unsalted butter: Adds richness and a creamy flavor, plus helps keep the rolls moist.
- Sugar: Just a hint to enhance the buttermilk’s flavor without making the rolls too sweet.
- Baking soda: Reacts with the buttermilk for extra tenderness and a little lift.
- Dry yeast (one 0.25-ounce package): The main leavening that gives the rolls their beautiful rise and fluffy inside.
- All-purpose flour: A dependable base—gives the rolls structure without making them dense.
- Salt: Brings all the flavors into balance and keeps the rolls from tasting flat.
How to Make Buttermilk Rolls
Step 1: Warm the Buttermilk Mixture
Start by gently heating the buttermilk, butter, and sugar in a small pot over medium-low heat. You want to bring it to a gentle simmer, just until the butter melts. Whisk in the baking soda (it will foam), then take it off the heat and let it cool to lukewarm—this keeps the yeast happy later on. It’s essential the mixture isn’t hot when combining with yeast, or you risk killing the yeast and stalling your rolls!
Step 2: Activate the Yeast
In a small bowl or measuring cup, gently stir the dry yeast into 1/4 cup lukewarm water. Let it sit for about 5 minutes until creamy and slightly bubbly. This quick step ensures your yeast is alive and your Buttermilk Rolls will rise beautifully.
Step 3: Combine Wet Ingredients
Once the buttermilk mixture has cooled a bit, pour it into a larger mixing bowl. Add the activated yeast mixture and give them a gentle stir together. This ensures even distribution of the yeast for fluffy, even rolls.
Step 4: Mix in the Dry Ingredients
In a separate, large bowl, whisk together the flour and salt to ensure even flavor. Make a well in the center, pour in the combined liquid ingredients, and use a sturdy spoon or spatula to mix until a shaggy dough forms. Don’t over-mix; just bring everything together into a soft mass.
Step 5: Knead and Rest
Knead the dough right in the bowl for about 2 minutes—it doesn’t need a full workout. You’re aiming for a smooth, elastic dough that’s a little tacky but not sticky. Cover with plastic wrap and let it rest for 30 minutes so the gluten relaxes. This quick rest helps create tender Buttermilk Rolls.
Step 6: Shape and Let Rise
Turn the rested dough out and gently divide it into 12 equal pieces (a bench scraper is handy here). Roll each piece into a smooth ball and nestle them into a well-buttered baking dish. Cover again with plastic wrap, and let them rise for about 1 1/2 hours, until nearly doubled. You’ll see them transform into puffy clouds, promise!
Step 7: Bake to Golden Perfection
About 20 minutes before baking, preheat your oven to 425°F (220°C). Once hot, slide the pan in and bake for 15 minutes, or until the Buttermilk Rolls are beautifully golden and a bit glossy on top. Let them cool just slightly before devouring—they smell irresistible straight from the oven!
How to Serve Buttermilk Rolls
Garnishes
Nothing beats tearing open a warm Buttermilk Roll and adding a pat of cold, salted butter that instantly melts into all those nooks. Sometimes, I’ll brush the tops of fresh-baked rolls with a little extra melted butter or sprinkle them with flaky sea salt for a gourmet finish. A drizzle of honey or herbed butter can take these to another level for brunch or holiday spreads!
Side Dishes
Buttermilk Rolls are delightfully versatile. Pair them with a hearty soup or stew (think classic chicken noodle or creamy tomato), serve alongside a holiday ham or roast, or include them in a weekend breakfast spread with scrambled eggs and sausage. Their mild flavor means they complement just about anything on your menu.
Creative Ways to Present
I love stacking Buttermilk Rolls in a rustic bread basket lined with a linen napkin or dishing them out in a cast iron skillet for a farmhouse vibe. For a fun twist, try serving them slider-style with ham and cheese piled inside, or even split and toasted for sandwiches—guests always remember the extra effort!
Make Ahead and Storage
Storing Leftovers
Buttermilk Rolls stay soft and lovely for a day or two at room temperature. Just pop them in an airtight container or zip-top bag once they’ve cooled completely. If you have extra, store them this way and enjoy over the next couple days—they make the softest dinner roll sandwiches!
Freezing
Planning ahead? You can freeze Buttermilk Rolls after baking and cooling. Place them in a freezer-safe bag, squeezing out as much air as you can. They’ll be at their best if used within a month, making them a great option for prepping before a big event or holiday meal.
Reheating
To restore that fresh-baked magic, wrap Buttermilk Rolls in foil and warm them in a 350°F (175°C) oven for about 10 minutes. For single servings, a few seconds in the microwave works, but the oven will bring back the original crisp-tender crust. If you’ve frozen your rolls, let them thaw at room temperature before reheating.
FAQs
Can I use regular milk instead of buttermilk?
For the true flavor and texture of Buttermilk Rolls, buttermilk is best. If you’re in a pinch, add 1 tablespoon lemon juice to 1 cup whole milk, let it sit 5 minutes, and use this homemade version—it’ll deliver a decent substitute!
What should I do if my dough is sticky?
A slightly sticky dough is expected, but if it’s too wet and hard to handle, sprinkle a little more flour while kneading. Just be careful not to add too much, or your Buttermilk Rolls can turn dry instead of fluffy.
Can I make the dough ahead of time?
Absolutely! After you shape the rolls and place them in the pan, cover tightly and refrigerate overnight. Allow them to come to room temperature and finish rising before baking the next day—super convenient for busy mornings or big dinners.
Why didn’t my rolls rise properly?
The most common culprits are expired yeast or liquid that was too hot and killed the yeast. Double check your yeast’s age and always let the buttermilk mixture cool to lukewarm before combining everything for perfect Buttermilk Rolls.
Can I make these rolls whole wheat?
If you want to add some wholesome flavor, substitute half the all-purpose flour for white whole wheat or regular whole wheat flour. The rolls will be a bit denser, but still delicious—just keep an eye on the texture as you mix.
Final Thoughts
There’s nothing quite like the irresistible scent and taste of fresh Buttermilk Rolls made from scratch. I hope you’ll roll up your sleeves, give this recipe a try, and watch these tender beauties become a family favorite at your table. Happy baking and enjoy every bite!
PrintButtermilk Rolls Recipe
These Buttermilk Rolls are soft, fluffy, and perfect for any meal. With a hint of tang from the buttermilk, these rolls are sure to be a hit at your table.
- Prep Time: 20 minutes
- Cook Time: 15 minutes
- Total Time: 2 hours
- Yield: 12 rolls 1x
- Category: Bread
- Method: Baking
- Cuisine: American
- Diet: Vegetarian
Ingredients
Buttermilk Rolls:
- 1 cup buttermilk
- 3 tablespoons unsalted butter
- 1 tablespoon sugar
- 1/4 teaspoon baking soda
- 1 package (0.25-ounce) dry yeast
- 3 1/2 cups all-purpose flour
- 1 teaspoon salt
Instructions
- Heat the buttermilk mixture: In a pot, heat buttermilk, butter, and sugar until simmering. Whisk in baking soda and cool to lukewarm.
- Activate the yeast: In a bowl, combine lukewarm water and yeast; let stand for 5 minutes.
- Mix the wet ingredients: Combine the cooled buttermilk mixture with the yeast mixture.
- Prepare the dough: In a large bowl, whisk together flour and salt; add liquid ingredients and mix until a soft dough forms.
- Knead and rest: Knead the dough for 2 minutes until smooth, cover, and let rest for 30 minutes.
- Shape and rise: Divide dough, roll into balls, place in a baking dish, cover, and let rise until nearly doubled.
- Bake: Preheat oven and bake the rolls until golden brown.
Nutrition
- Serving Size: 1 roll
- Calories: 180
- Sugar: 2g
- Sodium: 220mg
- Fat: 5g
- Saturated Fat: 3g
- Unsaturated Fat: 2g
- Trans Fat: 0g
- Carbohydrates: 28g
- Fiber: 1g
- Protein: 4g
- Cholesterol: 10mg
Keywords: Buttermilk Rolls, Homemade Rolls, Bread Recipe

