Canning Taco Soup Recipe
Introduction
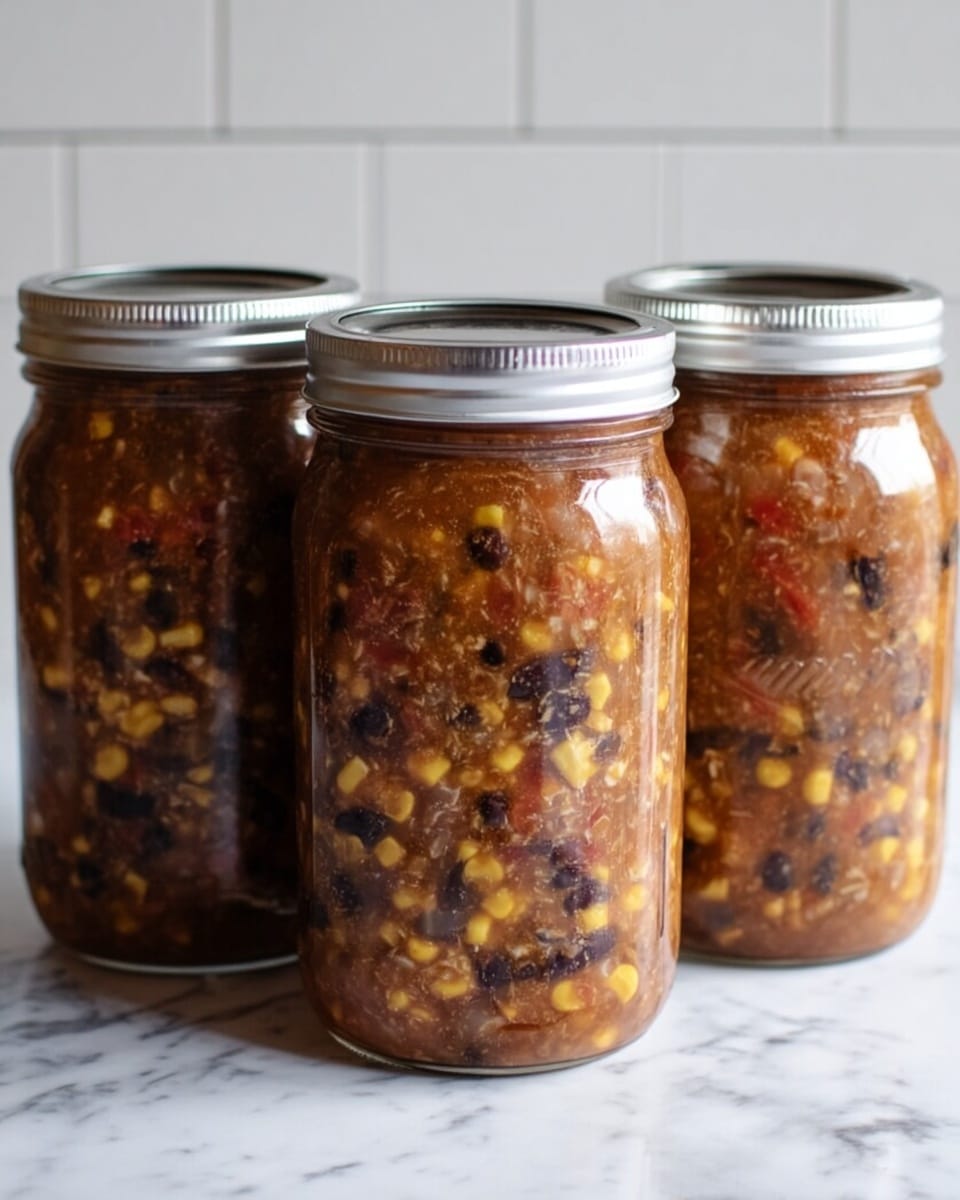
Taco soup is a hearty, flavorful meal perfect for preparing ahead and preserving for busy days. This canning taco soup recipe lets you safely store a delicious blend of beans, beef, and spices, so you can enjoy a comforting bowl anytime.
Ingredients
- 2 lbs ground beef (lightly browned)
- 1 lb dry beans (2 1/2 cups dried red, black, or pinto beans, pre-soaked)
- 12 cups broth, stock, or water
- 4 lbs tomatoes (peeled and chopped)
- 4 cups onion (diced)
- 4 cups corn
- 10 cloves garlic (minced)
- 2 tbsp salt (canning or kosher salt)
- 2 tbsp chili powder
- 1 tbsp ground black pepper
Instructions
- Step 1: Pre-soak your beans by soaking them for 8 hours or overnight, or use the quick soak method: bring beans and water to a boil for 2 minutes, turn off heat, cover, and soak for 1 hour. Drain and rinse before proceeding.
- Step 2: Prepare your pressure canner by filling it with a few inches of water according to the manufacturer’s instructions. Place jars inside to warm over low heat.
- Step 3: Brown the ground beef in a skillet, then set it aside.
- Step 4: Place the drained beans in a pot with fresh water and bring to a boil for 5 minutes, then drain again.
- Step 5: Return beans to the pot and add 12 cups of broth, stock, or water.
- Step 6: Add the chopped tomatoes, minced garlic, chili powder, salt, pepper, corn, diced onions, and the browned ground beef to the pot.
- Step 7: Bring the mixture to a boil over high heat, then reduce to a gentle boil and cook for another 5 minutes.
- Step 8: Remove the pot from heat. Using a slotted spoon, evenly divide the solids into prepared jars, filling no more than halfway.
- Step 9: Use a ladle to fill each jar with the remaining liquid, leaving 1 inch of headspace.
- Step 10: Remove air bubbles with a bubble removal tool or a non-metallic spatula. Recheck headspace and add boiling water if needed.
- Step 11: Wipe jar rims with a clean, damp cloth to remove any residue, then place lids and screw on bands firmly but not too tight. Load jars into the pressure canner.
- Step 12: Seal the canner lid and vent steam for 10 minutes.
- Step 13: Process jars at the recommended pressure for 60 minutes for pints or 75 minutes for quarts. Adjust pressure according to your altitude.
- Step 14: Allow the canner to depressurize naturally before removing jars. Let jars cool undisturbed on the counter for 12 hours.
- Step 15: Check seals, label jars, and store in a cool, dark place for up to one year.
Tips & Variations
- Use a variety of beans or substitute with a canned bean mix to save soaking time, but adjust cooking accordingly.
- For extra flavor, add cumin or smoked paprika along with chili powder.
- To make it vegetarian, omit the beef and use vegetable broth instead.
- Ensure you follow your pressure canner’s instructions carefully to maintain safety during canning.
Storage
Store sealed jars in a cool, dark place for up to one year. Once opened, refrigerate leftover soup and consume within 3 to 4 days. Reheat gently on the stove or in the microwave until hot.
How to Serve
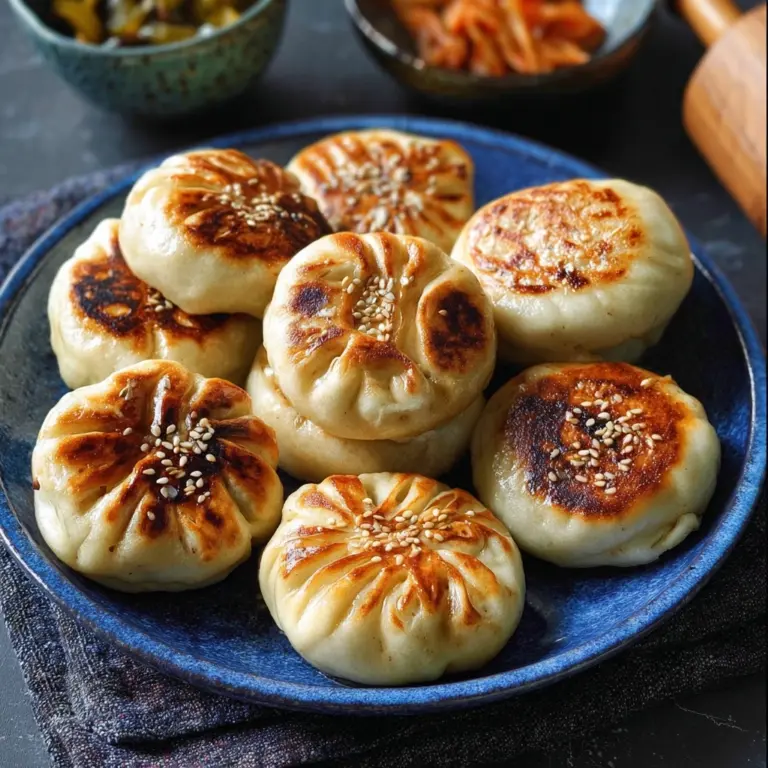
Serve this delicious recipe with your favorite sides.
FAQs
Can I use canned beans instead of dry beans?
Using canned beans is not recommended for pressure canning this soup because they can become mushy and may affect the safety of the canning process. It’s best to use dry beans soaked and partially cooked as described.
How do I adjust processing times for high altitudes?
Processing pressures vary with altitude. Consult your pressure canner’s manual or trusted canning guidelines to increase pressure appropriately to ensure safe preservation.
PrintCanning Taco Soup Recipe
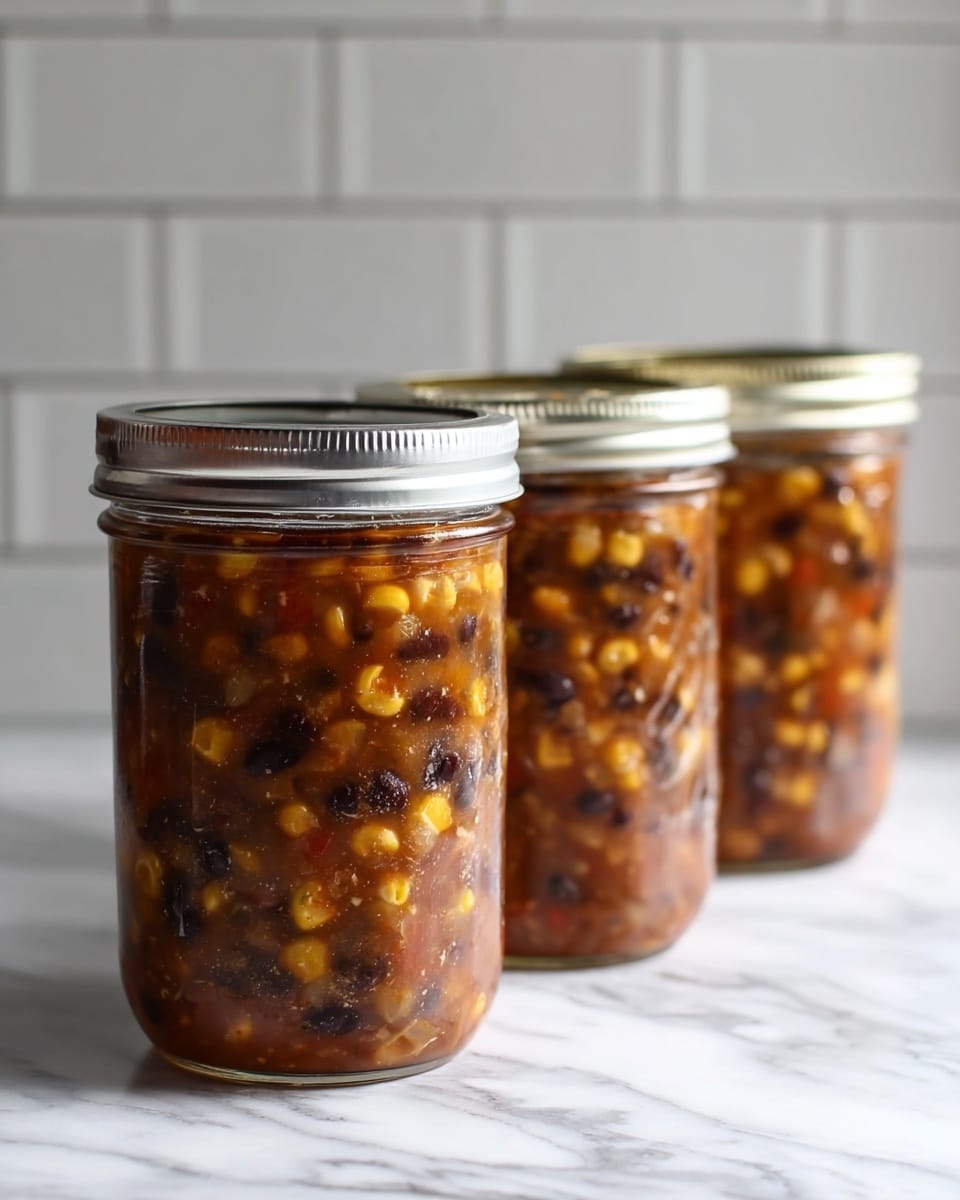
This hearty and flavorful Canning Taco Soup recipe combines tender beans, seasoned ground beef, fresh tomatoes, and a blend of spices perfect for preserving in jars. Ideal for stocking your pantry with a comforting meal that is easy to prepare on busy days. The soup is pressure canned to ensure safety and long shelf life, making it a great homemade canned food option.
- Prep Time: 1 hour 15 minutes (includes bean soaking time, excluding overnight soak option)
- Cook Time: 1 hour 15 minutes (browning, boiling, and canning process)
- Total Time: 2 hours 30 minutes (active cooking and canning time, excluding soak overnight)
- Yield: Approximately 7 to 8 quarts 1x
- Category: Soup
- Method: Instant Pot
- Cuisine: Mexican-American
Ingredients
Meat
- 2 lbs ground beef (lightly browned)
Beans
- 1 lb dry beans (weighed as purchased, then pre-soaked; 2 1/2 cups dried red, black, or pinto beans)
Liquids & Vegetables
- 12 cups broth (or stock or water)
- 4 lbs tomatoes (peeled and chopped)
- 4 cups onion (diced)
- 4 cups corn
- 10 cloves garlic (minced)
Spices
- 2 tbsp salt (canning or kosher salt)
- 2 tbsp chili powder
- 1 tbsp ground black pepper
Instructions
- Soak the Beans: Pre-soak your beans for 8 hours or use the quick soak method by boiling beans and water for 2 minutes, then covering and letting soak for 1 hour. Drain and rinse before use.
- Prepare the Pressure Canner: Fill the pressure canner with a few inches of water as per manufacturer instructions and place on low heat with jars inside to keep warm.
- Brown the Ground Beef: In a skillet, lightly brown the ground beef and set aside once cooked through.
- Boil the Beans: Place drained beans in a pot with water, bring to a boil, cook for 5 minutes, then drain again to meet safe canning requirements.
- Combine Ingredients: Return beans to the pot, add 12 cups broth or water, tomatoes, garlic, spices, corn, onions, and browned beef.
- Cook the Soup: Bring the mixture to a boil on high heat, then reduce to a gentle boil for 5 minutes.
- Fill the Jars with Solids: Remove the pot from heat and use a slotted spoon to evenly distribute solids into prepared jars, filling no more than halfway.
- Add Liquid: Use a ladle to fill jars with remaining liquid, leaving 1 inch of headspace.
- Remove Air Bubbles and Check Headspace: Use a bubble removal tool to remove bubbles and adjust liquid levels with boiling water if necessary.
- Clean Jar Rims and Seal: Wipe rims with a damp cloth, place lids and bands on jars.
- Load Jars into Pressure Canner: Place jars carefully into the pressure canner and secure the lid.
- Vent Steam: Allow the canner to vent steam for 10 minutes to remove air pockets.
- Process Jars: Process pints for 60 minutes or quarts for 75 minutes at pressure adjusted for your altitude.
- Depressurize and Cool: Let the canner depressurize naturally, then remove jars and cool on the counter for 12 hours.
- Check Seals and Store: Confirm jar seals, label, and store canned soup for up to one year.
Notes
- Adjust processing pressure according to your altitude to ensure safe canning.
- Use canning or kosher salt to avoid additives that can affect preservation.
- Ensure jars are warm before filling to avoid breakage when adding hot soup.
- Do not fill jars more than halfway with solids to allow proper pressure canning.
- Store canned soup in a cool, dark place for best shelf life.
Keywords: taco soup, canned taco soup, pressure canning, homemade soup, preserved soup, ground beef soup, bean soup, Mexican soup


