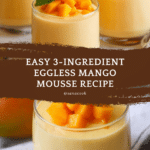
Easy 3-Ingredient Mango Mousse (Eggless) Recipe
Introduction
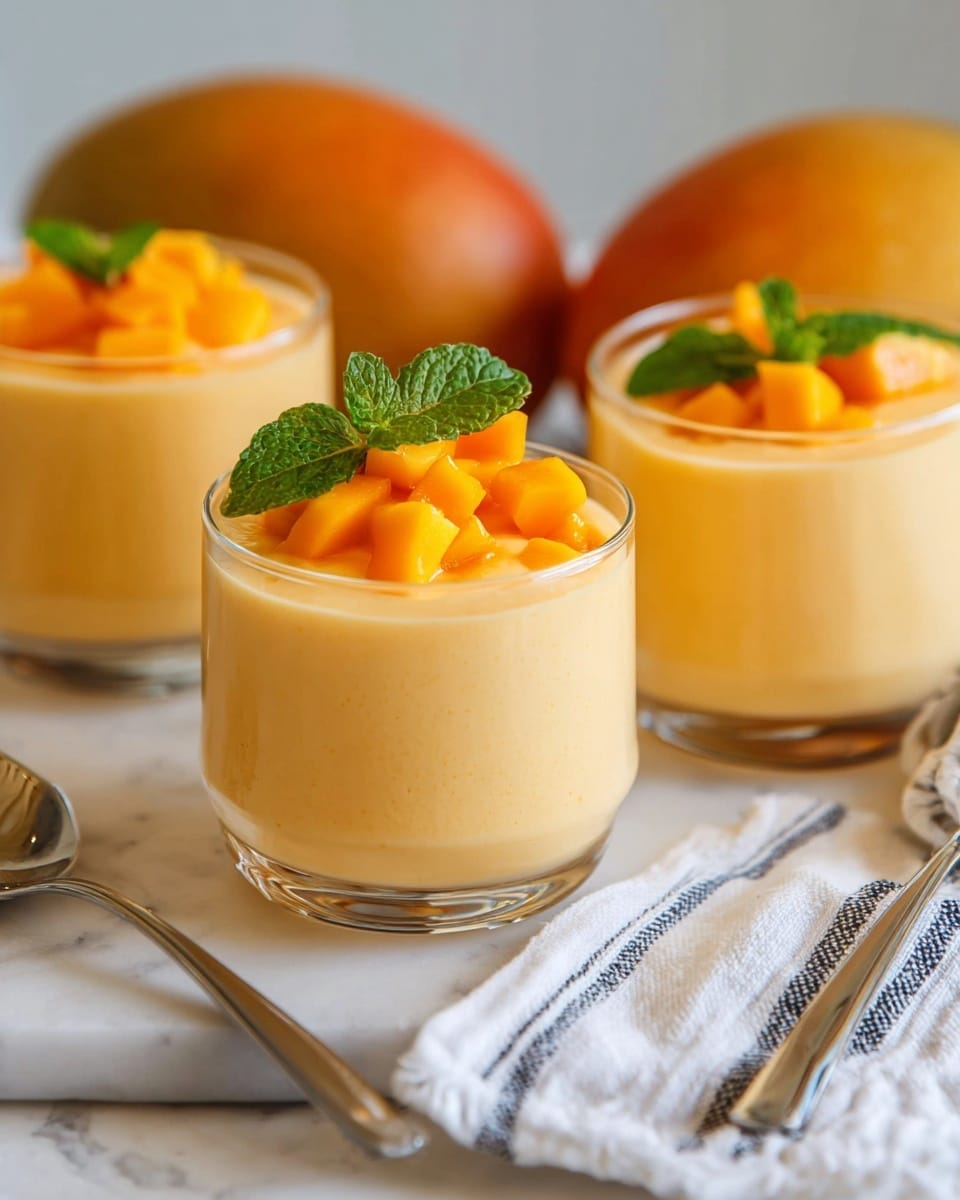
This easy 3-ingredient mango mousse is a light and refreshing dessert perfect for warm days. Made without eggs, it combines the natural sweetness of fresh mangoes with creamy whipped cream for a smooth, airy treat.
Ingredients
- 7 oz (200 g) mango (about 2 medium mangoes)
- 1 cup (240 ml) heavy cream, cold
- 4 tablespoons (30 g) powdered sugar
- Optional: 1 teaspoon vanilla bean paste or extract
- Optional: mint leaves for decoration
Instructions
- Step 1: Peel and cut the mangoes into cubes. Blend them in a blender or food processor until smooth to make mango puree. Set aside.
- Step 2: In a chilled mixing bowl, beat the heavy cream with powdered sugar and vanilla (if using) until stiff peaks form.
- Step 3: Gently fold the mango puree into the whipped cream until fully combined and no streaks remain.
- Step 4: Transfer the mousse to a piping bag. If the mixture feels too runny, refrigerate the piping bag for 1 hour before using. Pipe the mousse into serving glasses or bowls.
- Step 5: Refrigerate the mousse for at least 4 hours or overnight to set.
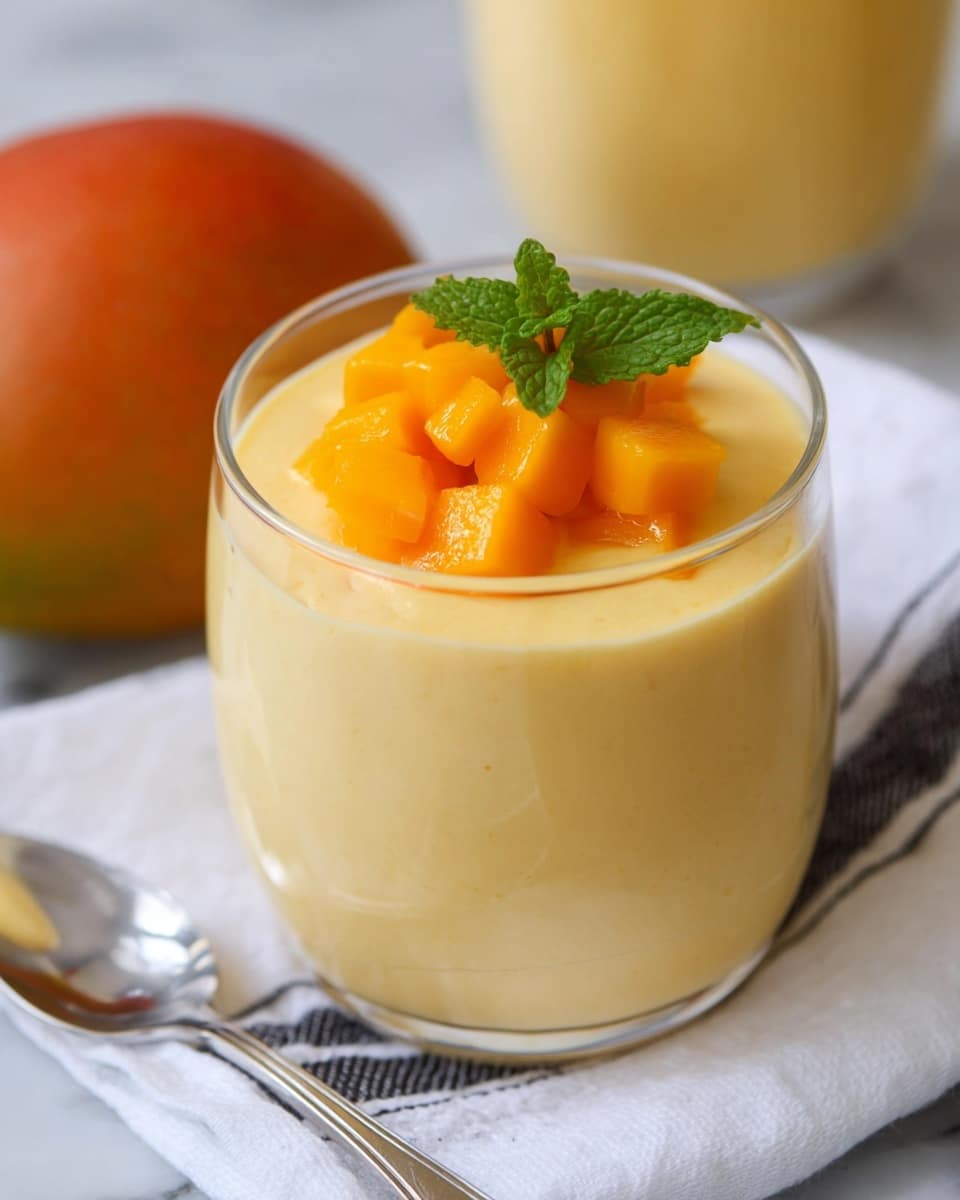
- Step 6: Just before serving, garnish with fresh mango cubes and mint leaves if desired.
Tips & Variations
- Use ripe, sweet mangoes for the best flavor and natural sweetness.
- If you prefer a lighter texture, fold in some beaten egg whites (only if not avoiding eggs).
- For added depth, sprinkle a pinch of cardamom or a splash of citrus juice into the mango puree.
Storage
Store the mango mousse covered in the refrigerator for up to 2 days. To reheat, simply allow it to come to room temperature briefly; however, it is best enjoyed chilled for its creamy texture.
How to Serve
Serve this delicious recipe with your favorite sides.
FAQs
Can I use frozen mango for this recipe?
Yes, frozen mango works well. Thaw it completely and drain any excess liquid before blending to avoid a runny mousse.
Is it possible to make this mousse dairy-free?
Yes, substitute the heavy cream with a coconut cream or other dairy-free whipping cream, but the texture may vary slightly.
PrintEasy 3-Ingredient Mango Mousse (Eggless) Recipe

This Easy 3-Ingredient Mango Mousse is a light, creamy, and refreshing dessert made without eggs. Featuring ripe mango puree folded into fluffy whipped cream sweetened with powdered sugar, it is perfect for a quick tropical treat. The mousse requires minimal ingredients and effort but results in a luscious, smooth texture that can be served chilled and garnished with fresh mango cubes and mint leaves for an elegant presentation.
- Prep Time: 15 minutes
- Cook Time: 0 minutes
- Total Time: 4 hours 15 minutes (including chilling time)
- Yield: 4 servings 1x
- Category: Dessert
- Method: No-Cook
- Cuisine: Indian
- Diet: Vegetarian
Ingredients
Main Ingredients
- 7 oz (200 g) Mango (about 2 medium mangoes)
- 1 cup (240 ml) Heavy cream, cold
- 4 tablespoons (30 g) Powdered sugar
Optional Ingredients
- 1 teaspoon Vanilla bean paste or extract
- Mint leaves for decoration
Instructions
- Prepare the mango puree: Peel and dice the mangoes into cubes. Place them into a blender or food processor and blend until completely smooth. Set the mango puree aside for use in the mousse.
- Whip the cream: Using a chilled mixing bowl, beat the cold heavy cream together with powdered sugar and vanilla bean paste or extract (if using) until stiff peaks form, creating a light and fluffy whipped cream.
- Fold in the mango: Gently fold the mango puree into the whipped cream carefully until fully combined and no visible streaks remain, ensuring a uniform mousse texture without deflating the cream.
- Pipe and chill: Transfer the mango mousse mixture into a piping bag. If the mousse feels too runny to pipe, refrigerate the piping bag for 1 hour to help it firm up before piping into serving glasses or bowls.
- Set and serve: Place the filled serving dishes in the refrigerator and chill for at least 4 hours or preferably overnight to allow the mousse to set perfectly and enhance the flavor meld.
- Decorate and serve: Just before serving, garnish the mousse with fresh mango cubes and mint leaves for a colorful, fresh, and inviting presentation.
Notes
- Use ripe, sweet mangoes for the best flavor and natural sweetness.
- Ensure the heavy cream is well chilled for easier whipping and firmer peaks.
- If you prefer a vegan option, substitute heavy cream with coconut cream.
- The mousse can be made a day ahead to save time and improve flavor development.
- Adjust sweetness by varying the powdered sugar according to your taste and the sweetness of the mangoes.
- For a more intense mango taste, you can add a teaspoon of mango puree during decoration as well.
Keywords: mango mousse, eggless mango dessert, easy mango mousse, 3-ingredient dessert, no-bake mango mousse, creamy mango mousse, quick mango dessert

