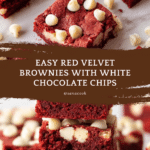
Easy Red Velvet Brownies with Cake Mix Recipe
Introduction
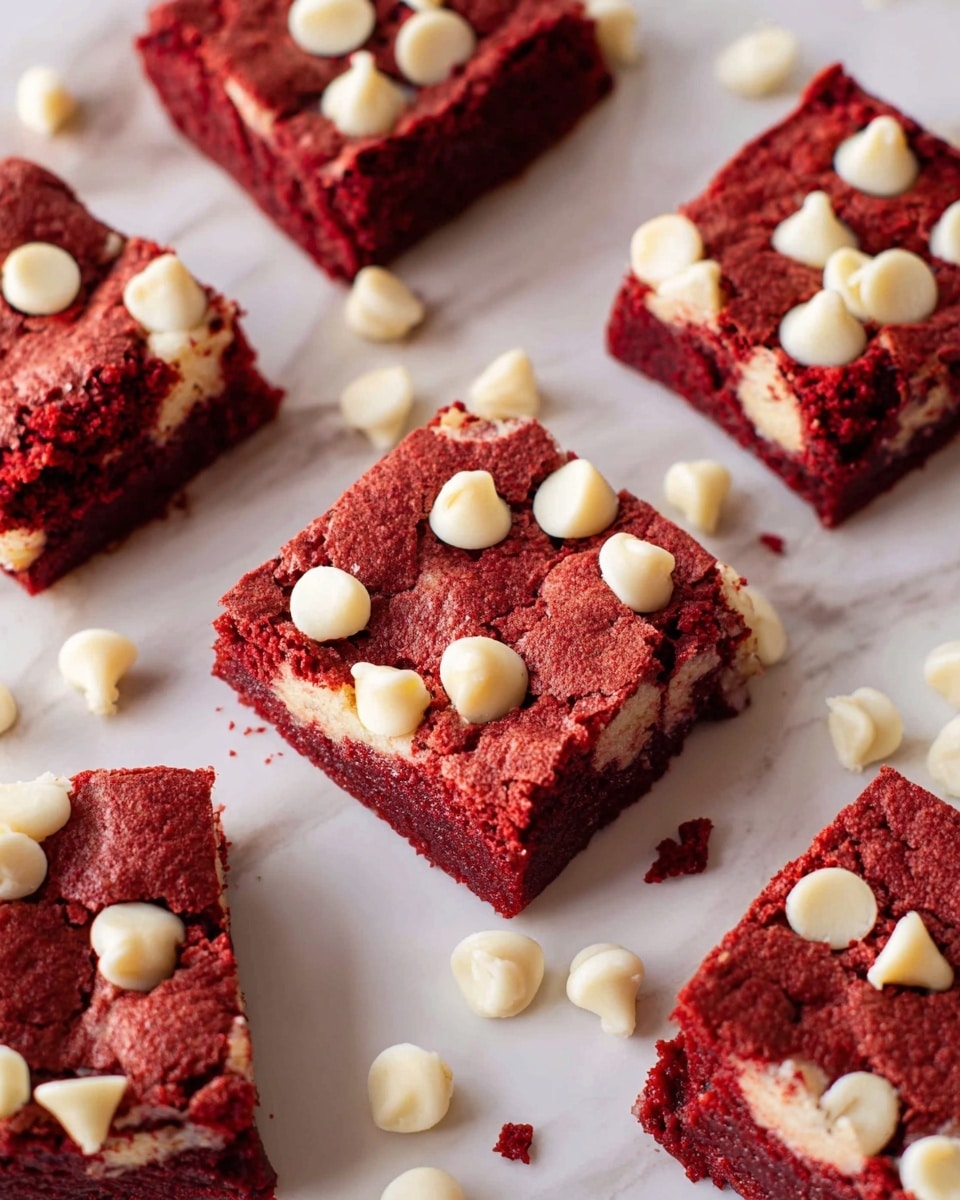
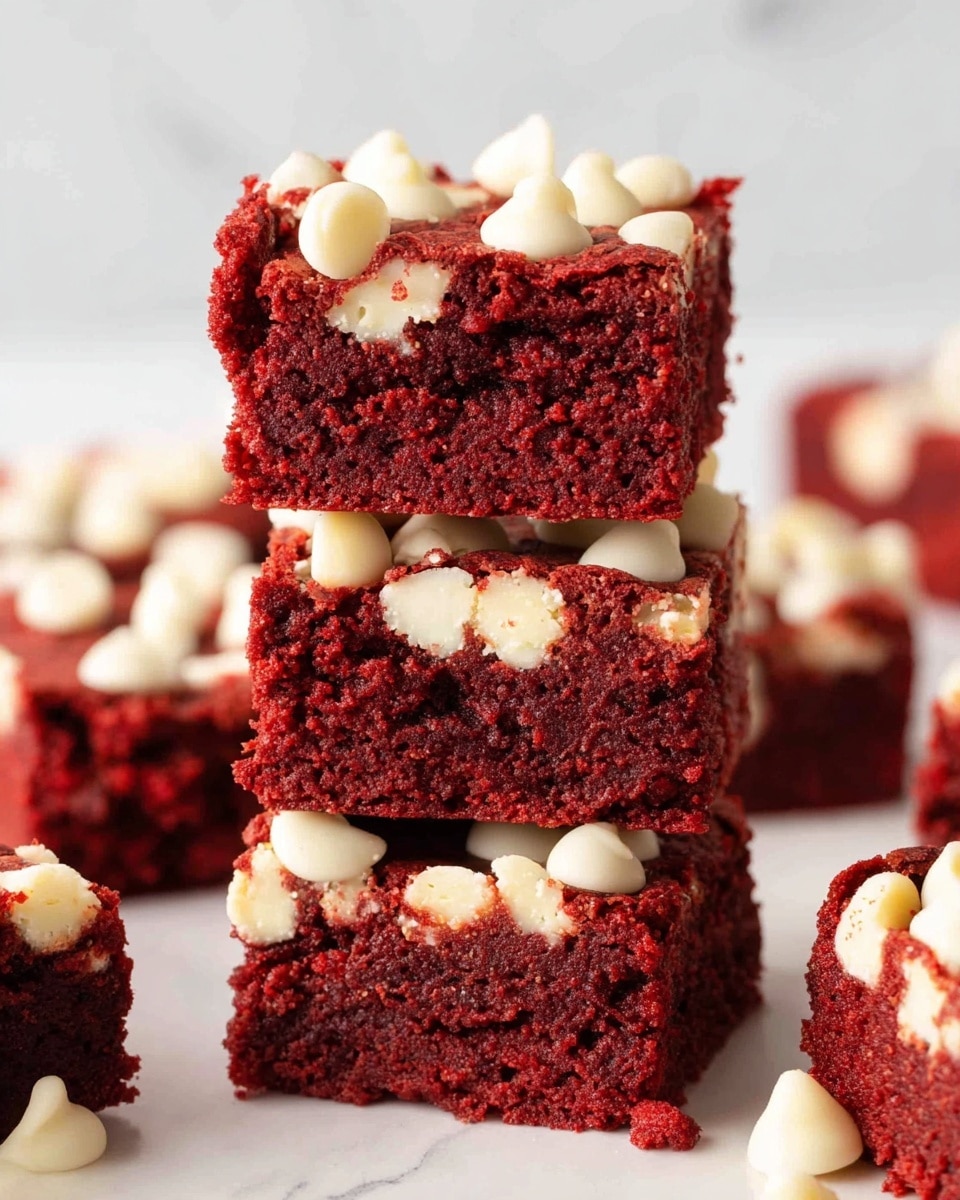
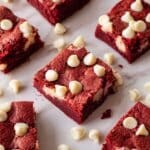
These easy red velvet brownies combine the rich, classic flavor of red velvet cake with the fudgy texture of a brownie. Using a simple cake mix and a handful of ingredients, you’ll have a delicious treat ready in under an hour.
Ingredients
- 1 15.25 oz. box of red velvet cake mix
- 2 eggs
- 1/2 cup vegetable or canola oil
- 1/2 cup white chocolate chips
Instructions
- Step 1: Preheat your oven to 350°F. Line an 8×8 inch baking pan with parchment paper or spray it thoroughly with cooking spray.
- Step 2: In a large bowl, combine the cake mix, eggs, and oil. Stir with a wooden spoon until all the dry mix is fully incorporated and the batter is thick.
- Step 3: Pour the thick batter into the prepared pan. Use a spatula or a butter knife sprayed with cooking spray to spread it evenly.
- Step 4: Sprinkle the white chocolate chips evenly over the top of the batter.
- Step 5: Bake for 18-22 minutes, or until a toothpick inserted in the center comes out almost clean. Start checking at 15-18 minutes to avoid overbaking.
- Step 6: Let the brownies cool completely before cutting into squares. For an extra touch, drizzle melted white chocolate over the top if desired.
Tips & Variations
- Use a wooden spoon rather than an electric mixer to prevent overworking the thick batter.
- Try mixing in chopped nuts or swapping white chocolate chips for semi-sweet for a different flavor profile.
- To make these brownies extra fudgy, slightly underbake and allow them to finish cooking as they cool.
Storage
Store cooled brownies in an airtight container at room temperature for up to 3 days. For longer storage, refrigerate for up to a week or freeze for up to 3 months. Reheat refrigerated brownies gently in the microwave for 10-15 seconds to soften.
How to Serve
Serve this delicious recipe with your favorite sides.
FAQs
Can I use a different size baking pan?
Yes, but baking time will vary. Using a larger pan will yield thinner brownies that bake faster, while a smaller pan will produce thicker brownies requiring more baking time. Adjust accordingly and check doneness frequently.
Do I have to use white chocolate chips?
No, you can substitute with milk, dark chocolate chips, or even leave them out entirely. White chocolate adds a nice sweet contrast to the red velvet flavor, but feel free to customize to your taste.
PrintEasy Red Velvet Brownies with Cake Mix Recipe
These Easy Red Velvet Brownies combine the rich flavor of red velvet cake with the fudgy texture of brownies, made simple with a cake mix base. Topped with white chocolate chips and baked to perfection, they offer a delightful treat that’s quick to prepare and sure to please.
- Prep Time: 10 minutes
- Cook Time: 20 minutes
- Total Time: 30 minutes
- Yield: 16 brownies (about 2-inch squares) 1x
- Category: Dessert
- Method: Baking
- Cuisine: American
Ingredients
Brownie Batter
- 1 15.25 oz. box red velvet cake mix
- 2 large eggs
- 1/2 cup vegetable or canola oil
Topping
- 1/2 cup white chocolate chips
Instructions
- Prep: Preheat the oven to 350°F (175°C). Line an 8×8-inch baking pan with parchment paper or spray it with non-stick cooking spray to ensure easy removal of the brownies after baking.
- Mix: In a large bowl, combine the red velvet cake mix, eggs, and vegetable or canola oil. Use a wooden spoon to stir until the dry cake mix is completely incorporated into the batter. The batter will be very thick, so avoid using an electric mixer to prevent overworking it.
- Pour & Spread: Pour the thick brownie batter into the prepared baking pan. Using a small spatula or a butter knife lightly sprayed with cooking spray, gently spread the batter evenly across the pan for uniform baking.
- Sprinkle: Evenly sprinkle the white chocolate chips over the top of the batter, adding a sweet and creamy contrast to the rich red velvet flavor.
- Bake: Bake in the preheated oven for 18 to 22 minutes. Begin checking at 15 to 18 minutes by inserting a toothpick into the center; it should come out almost clean. Slight underbaking is preferable as the brownies will continue to firm up as they cool.
- Cool & Cut: Allow the brownies to cool completely in the pan. Once cooled, use a sharp or plastic knife to cut into squares. For an extra touch, drizzle with melted white chocolate if desired.
Notes
- Using a wooden spoon is recommended over an electric mixer due to the thick batter consistency.
- Underbaking slightly helps achieve a fudgier texture as the brownies will set more while cooling.
- Drizzling melted white chocolate on top after baking adds extra sweetness and decoration.
- If you don’t have white chocolate chips, you can substitute with regular chocolate chips or skip the topping entirely.
Keywords: Red velvet brownies, easy brownies, cake mix brownies, white chocolate brownies, quick dessert