Gluten-Free Onion Rings (Dairy-Free) Recipe
Welcome to the irresistible world of Gluten-Free Onion Rings (Dairy-Free)! Imagine crispy, golden rings packed with flavor, crunch, and just the right amount of savor—all without a trace of gluten or dairy. Whether you’re living gluten-free or simply craving something lighter and allergen-friendly, these onion rings prove you never have to compromise on taste or texture. They make the ultimate snack, party appetizer, or side to your favorite burger, and yes—they vanish in no time flat.
Ingredients You’ll Need
The magic behind perfect Gluten-Free Onion Rings (Dairy-Free) lies in a handful of thoughtfully chosen ingredients. Each one plays an important part—creating a crunchy exterior, holding in that delightful onion sweetness, and ensuring the final result is beautifully golden and deliciously free from gluten and dairy.
- Yellow Onions: Sweet, mild onions are best for rings that caramelize gently and complement the crispy coating.
- Oil for frying: Choose a neutral, high-heat oil like canola or vegetable oil for even frying and light flavor.
- Gluten-free all-purpose flour: This provides the structure for both your dry mix and batter—essential for keeping the coating crisp without wheat.
- Gluten-free panko breadcrumbs: These give the rings that unmistakable crunch and airy texture we all crave.
- Egg: Helps bind the batter to the onions and ensures a sturdy coating.
- Dairy-free buttermilk: Adds tang, moisture, and a lovely lift; make your own with plant milk and lemon juice if needed.
- Salt: Draws out onion flavor and makes every bite sing.
- Ground black pepper: Just a touch for warm spice that balances out the sweetness of the onion.
- Granulated garlic: For that irresistible savory depth you’ll notice in every bite.
- Baking powder: Ensures the batter is light and never dense, producing a delicate, crisp shell.
How to Make Gluten-Free Onion Rings (Dairy-Free)
Step 1: Heat Frying Oil
Begin by pouring your chosen frying oil into a large skillet or deep frying pan. Set the heat to low for now—this gives you time to prep the rest without any rush. You’re aiming for an oil temperature between 350°F and 375°F (175°C to 190°C), the sweet spot for that golden, shatteringly crisp crust that defines Gluten-Free Onion Rings (Dairy-Free).
Step 2: Cut Onions into Rings
While the oil heats, peel and slice your onions into thick rounds, about 1/2 to 1/3 inch thick. Gently separate each round into individual rings—the goal is to keep their shape intact so they’re easy to dip and fry later. Set them aside on a plate and get ready for the fun part: coating and frying!
Step 3: Mix Flour and Condiments
In a large bowl, mix together half of your gluten-free all-purpose flour with the ground black pepper, salt, and granulated garlic. This simple mixture builds the flavorful, seasoned base that will stick to every onion ring.
Step 4: Whisk Milk, Egg, Baking Powder and Flour
In a separate bowl, thoroughly whisk together the dairy-free buttermilk, egg, baking powder, and the remaining gluten-free all-purpose flour. The result should be a thick, creamy batter—if it feels runny, add a spoonful more flour for the right consistency. This will help the panko cling for that irresistible crunch.
Step 5: Coat Onions in Dry Mixture
Start by tossing your separated onion rings in the dry flour mixture. Make sure each ring is evenly coated—this dry layer will help the batter adhere better and adds extra flavor right to the onion’s surface.
Step 6: Dip Onions in Batter
Next, plunge each floured ring into your thick batter. Swirl them around gently to ensure a full, even coating. If any gaps appear, spoon over a bit more batter—remember, every bit of coverage leads to a crispier finished Gluten-Free Onion Ring (Dairy-Free)!
Step 7: Coat Onion Rings in Panko
Transfer the battered rings to a plate of gluten-free panko breadcrumbs and roll them to coat generously on all sides. The panko will stick beautifully to the batter, guaranteeing each ring will fry up light, airy, and satisfyingly crunchy.
Step 8: Fry Until Golden
Gently place the coated rings into your preheated oil, working in batches if needed to avoid crowding. Fry each ring for about 1 to 2 minutes per side. Keep an eye on the color—you want a lovely golden brown, never dark or burnt. Use a slotted spoon to lift them out once perfectly crisp.
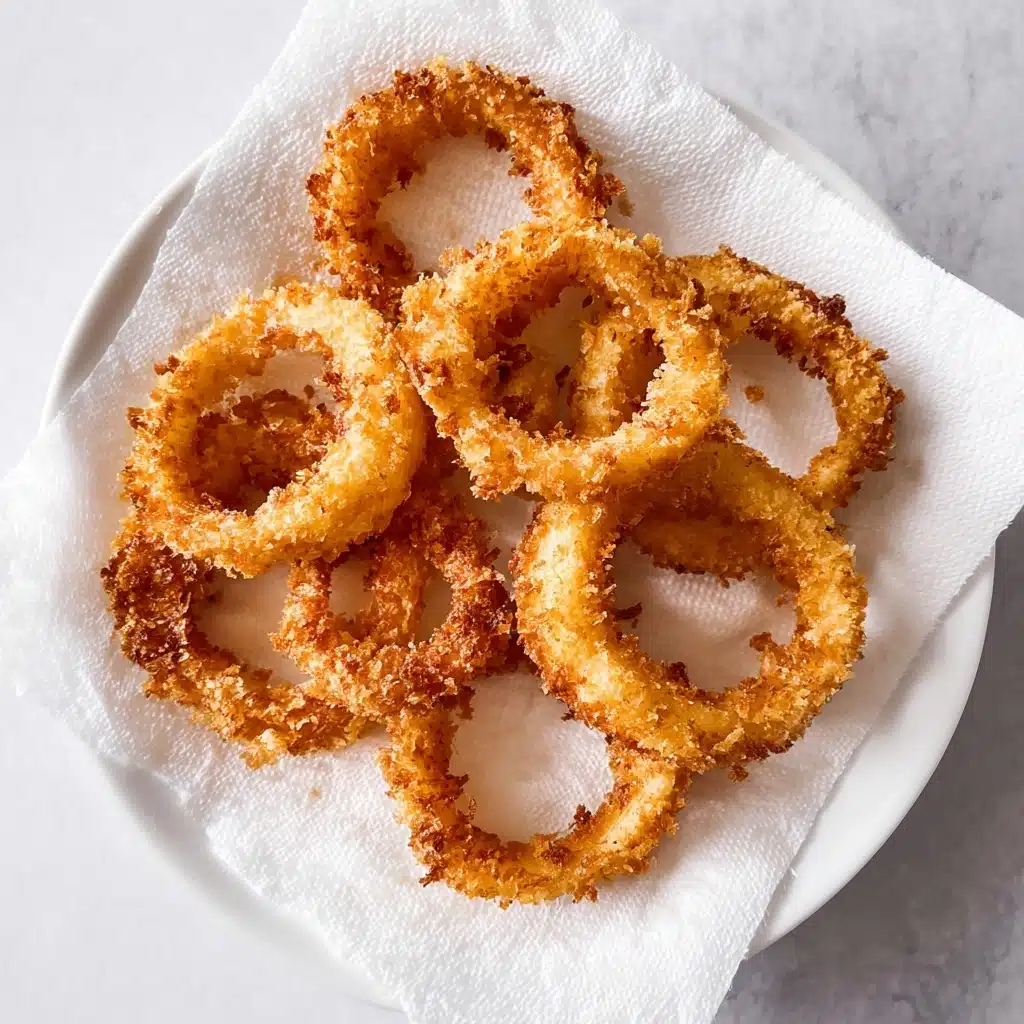
Step 9: Soak Up Excess Oil
Transfer the hot, fried onion rings onto paper napkins or a wire rack to drain away any extra oil. This step is key: it keeps your Gluten-Free Onion Rings (Dairy-Free) super crisp and not greasy. Serve hot, with your favorite dips—try sriracha chili sauce, tangy ketchup, creamy aioli, or whatever sauce sparks joy!
How to Serve Gluten-Free Onion Rings (Dairy-Free)
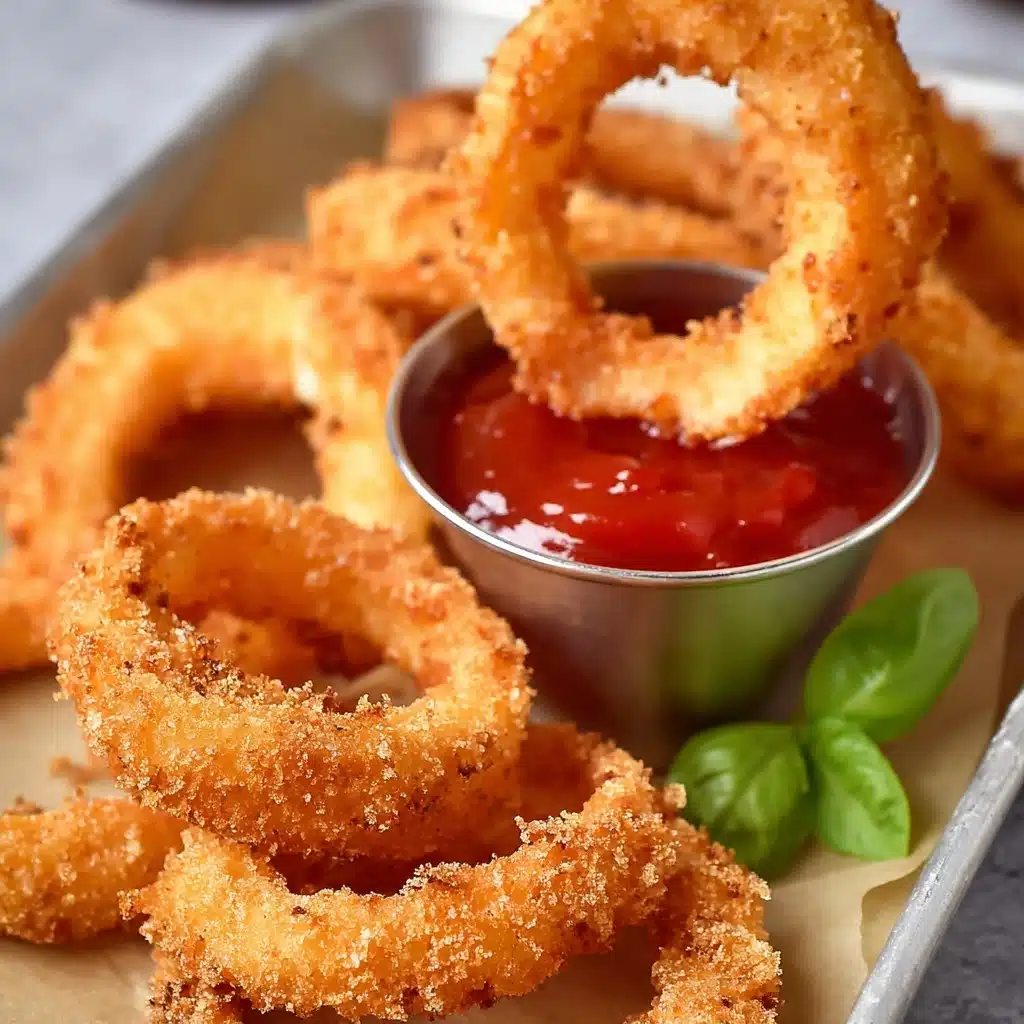
Garnishes
Sprinkle your piping hot onion rings with a touch of extra salt, a dusting of chopped parsley, or even a light shake of smoked paprika for color and depth. If you’re feeling adventurous, a squeeze of fresh lemon can elevate the already amazing flavor of Gluten-Free Onion Rings (Dairy-Free). Don’t forget your favorite dipping sauces—the right dip transforms these rings into something magical.
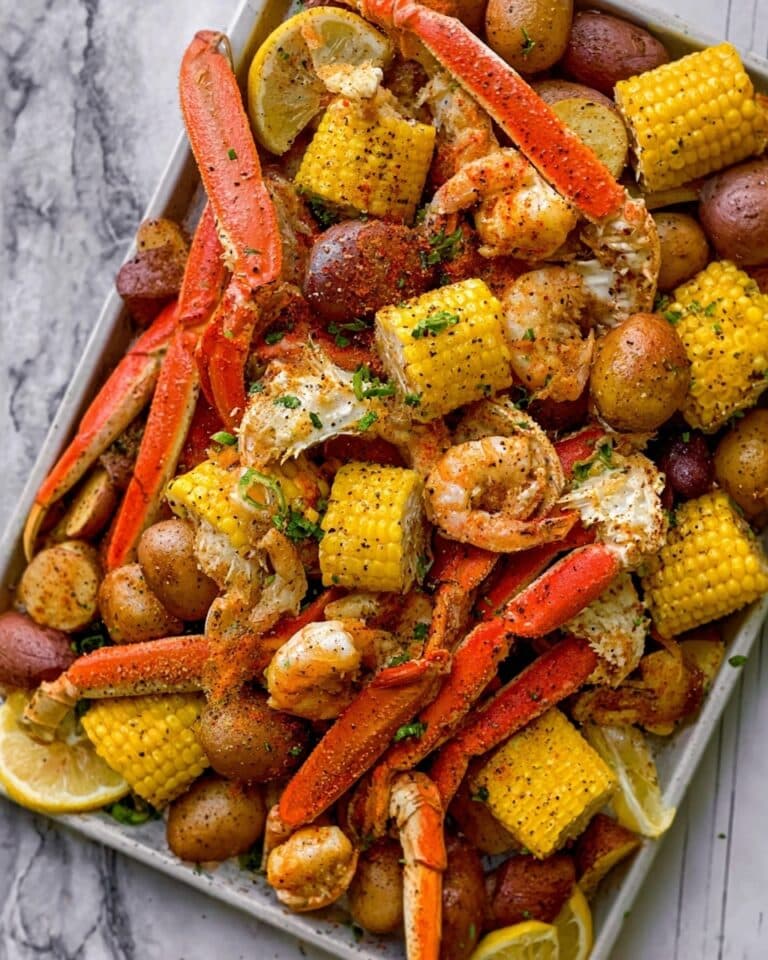
Side Dishes
Pair your onion rings with a juicy burger tucked in a gluten-free bun, a crisp green salad for contrast, or a platter of grilled veggies. For a crowd, turn your kitchen into a snack bar by serving these gluten-free onion rings (dairy-free) alongside sweet potato fries, corn on the cob, or even a big bowl of chilled gazpacho. They’re the perfect companion to just about anything on your menu.
Creative Ways to Present
Stack your onion rings high on a serving platter, thread them onto skewers for a party-ready look, or serve them in parchment-lined baskets for that classic diner feel. For special occasions, create an onion ring tower in the center of your table—there’s nothing quite like the wow factor of a tall, golden stack of crispy Gluten-Free Onion Rings (Dairy-Free)!
Make Ahead and Storage
Storing Leftovers
Any leftovers (if you manage to have them!) can be cooled completely and stored in an airtight container in the refrigerator for up to 2 days. Letting them cool first prevents steam from making the rings soggy, helping your Gluten-Free Onion Rings (Dairy-Free) retain their bite.
Freezing
Yes, you can freeze these treats! Once cooled, lay the onion rings out in a single layer on a baking sheet and freeze until solid. Then, transfer to a freezer-safe bag or container. This way, you can re-crisp a handful of Gluten-Free Onion Rings (Dairy-Free) whenever the craving hits—just like fresh!
Reheating
For best results, reheat your onion rings in a hot oven or air fryer at 400°F until steaming and crispy (about 8-10 minutes). Avoid microwaving if you can—it tends to make them limp. The oven or air fryer gives you back that fresh-from-the-fryer crunch, as delicious as the first day.
FAQs
Can I use a different type of onion?
Absolutely! While yellow onions are classic, you can use sweet onions for a more delicate flavor or red onions for extra color. Just remember—the thicker the slice, the more dramatic the ring.
Is it possible to make Gluten-Free Onion Rings (Dairy-Free) vegan?
Yes! Swap the egg for a flaxseed or chia seed “egg” (mix 1 tablespoon ground seeds with 3 tablespoons water and let it thicken). Make sure your buttermilk replacement is fully plant-based, like almond or soy milk soured with a little lemon juice.
What’s the best oil for frying these onion rings?
Opt for a neutral-tasting oil with a high smoke point, such as canola, vegetable, or even grapeseed oil. These ensure your Gluten-Free Onion Rings (Dairy-Free) fry up light and never carry off-flavors.
Can I bake these onion rings instead of frying?
If you’d like a lighter version, arrange the breaded onion rings on a parchment-lined baking sheet, spritz with oil, and bake at 425°F for about 20 minutes, flipping halfway through. They won’t be quite as crisp as fried, but still super tasty and satisfying!
My breading keeps falling off. What am I doing wrong?
Make sure to follow each dipping step—dry mixture, then batter, then panko—without skipping. Pressing the panko lightly onto each ring helps it stick. Also, let battered rings rest for a minute before frying so the coating sets up!
Final Thoughts
Crispy, golden, and impossibly crave-worthy—Gluten-Free Onion Rings (Dairy-Free) will quickly become a favorite in your kitchen. They’re a crowd pleaser for all dietary needs, and you’ll love how easy and fun they are to make. So gather your ingredients and give them a try—you just might find yourself making a double batch every time!
PrintGluten-Free Onion Rings (Dairy-Free) Recipe
These gluten-free onion rings are a delicious and crispy snack that are perfect for those with dietary restrictions. Coated in a flavorful batter and crunchy panko breadcrumbs, these dairy-free onion rings are sure to be a hit at any gathering.
- Prep Time: 20 minutes
- Cook Time: 10 minutes
- Total Time: 30 minutes
- Yield: 4 servings 1x
- Category: Appetizer/Snack
- Method: Frying
- Cuisine: American
- Diet: Gluten Free
Ingredients
For the Onion Rings:
- 2 medium-sized yellow onions
- 3–4 cups oil, for frying
- 7 tablespoons gluten-free all-purpose flour
- 3 cups gluten-free panko breadcrumbs
For the Batter:
- 1 egg
- 1/2 cup dairy-free buttermilk
- 1/4 teaspoon salt
- 1/5 teaspoon ground black pepper
- 1/3 teaspoon granulated garlic
- 1 teaspoon baking powder
Instructions
- Heat Frying Oil: Pour the frying oil into a large frying pan or skillet and start heating it. Keep the heat on low while cutting the onion and preparing the batter. The ideal temperature is 350°F to 375°F (175°C to 190°C).
- Cut Onions into Rings: Cut the onions horizontally into 1/2-1/3 inch thick rings and separate them into individual onion rings.
- Mix Flour and Condiments: In a large bowl, mix half the gluten-free all-purpose flour, black pepper, salt, and granulated garlic.
- Whisk Milk, Egg, Baking Powder and Flour: In another bowl, whisk together the dairy-free buttermilk, egg, baking powder, and the remaining gluten-free all-purpose flour. The batter should be rather thick.
- Coat Onions in Dry Mixture: Roll onion rings in the dry mixture on all sides.
- Dip Onions in Batter: Transfer the onion rings to the batter and coat until each ring is evenly coated.
- Coat Onion Rings in Panko: Pour the gluten-free panko into a separate plate and roll the battered onion rings in the panko.
- Fry Until Golden: Then place the panko-coated onion rings in a pan with the hot oil. Fry for 1-2 minutes, until the rings are golden brown.
- Soak Up Excess Oil: Place the fried onion rings on paper napkins to absorb any excess oil. Serve with sauce of choice.
Nutrition
- Serving Size: 1 serving
- Calories: 240
- Sugar: 2g
- Sodium: 480mg
- Fat: 12g
- Saturated Fat: 1g
- Unsaturated Fat: 8g
- Trans Fat: 0g
- Carbohydrates: 30g
- Fiber: 3g
- Protein: 4g
- Cholesterol: 20mg
Keywords: Gluten-Free, Dairy-Free, Onion Rings, Snack, Appetizer, Gluten-Free Breading