Homemade Bread Recipe
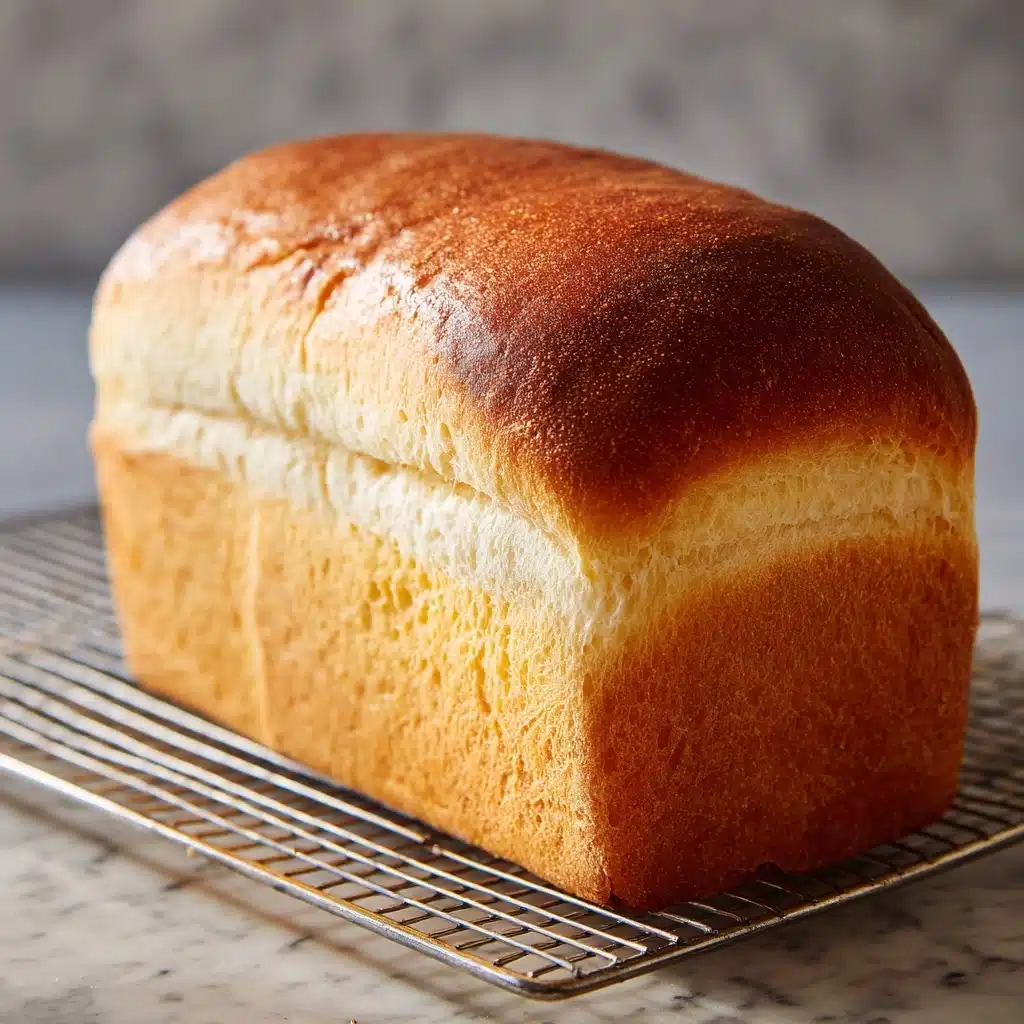
Few food experiences compare to the smell of a fresh loaf, warm from the oven, with a crisp golden crust and a soft, steamy center. Homemade Bread is more than just a recipe—it’s an invitation to fill your kitchen with comfort, joy, and an irresistible aroma. Whether you’re new to baking or looking to perfect your go-to loaf, you’ll love how approachable, rewarding, and downright delicious this bread is. Let’s make your bread dreams a reality!

Ingredients You’ll Need
The magic of Homemade Bread starts with a handful of basic ingredients. Each one plays a vital role, from creating that pillowy crumb to adding subtle sweetness and helping the loaf rise high and proud. Here’s what you’ll need, and why:
- Warm water: Activate the yeast and hydrate the dough for just the right texture; be sure it’s warm, not hot!
- Active dry yeast: The driving force behind the bread’s rise, producing that lovely airy crumb we all adore.
- Honey or sugar: Adds a gentle sweetness and gives the yeast a little boost for the perfect rise.
- Salt: Balances the flavors, keeping your bread from tasting bland and enhancing every bite.
- Oil (canola or vegetable): Keeps the crumb tender and the crust from getting too tough.
- All-purpose or bread flour: The backbone of Homemade Bread—choose bread flour for chewier texture, all-purpose for a softer loaf.
How to Make Homemade Bread
Step 1: Proof the Yeast
In a large bowl or your stand mixer, combine the warm water, yeast, and just a pinch of your sugar or honey. Let this mixture rest for 5 to 10 minutes. You’ll know it’s ready when it’s foaming and bubbly on the surface—proof that your yeast is alive and raring to go. If nothing happens, don’t worry: just start fresh with new yeast for the best bread.
Step 2: Begin the Dough
Add in the rest of your sugar or honey, salt, oil, and 3 cups of flour to your foamy yeast. Mix everything together until it’s well combined. The dough will look shaggy at this stage, but that’s exactly what you want—trust the process!
Step 3: Add Flour Gradually
Now it’s time to slowly add another cup of flour. Keep mixing until it comes together, then start adding flour ½ cup at a time. Watch for the dough to begin pulling away from the sides of the bowl and to feel smooth and elastic when pressed gently with a finger. If it’s still super sticky, add a touch more flour, but resist the urge to overdo it—moist dough = tender bread.
Step 4: Knead the Dough
Let your mixer do the work on medium speed for 4 to 5 minutes, or turn the dough out onto a lightly floured surface and knead it by hand for 5 to 8 minutes. Kneading builds gluten, giving Homemade Bread its lovely structure and spring. Your arms may get a minor workout, but it’s worth it!
Step 5: First Rise
Grease a large bowl and pop your smooth dough inside, turning it so the surface is lightly coated. Cover it up with a dish towel or some plastic wrap and set it in a cozy spot. Give it about 1 and a half hours to double in size—watching your dough go from a ball to a puffed, pillowy mound is pure homemade bread magic in action.
Step 6: Prep the Pans
Grab two 9×5-inch loaf pans and coat them well with cooking spray. For easier release, you can also line the bottom with a little parchment paper (especially helpful if your pans have ever stuck before!).
Step 7: Shape the Loaves
Give your risen dough a couple of solid punches to deflate those air pockets, then divide it into two equal pieces. Shape each one into a log and place it in your prepared pans. This stage sets the final shape for your finished loaves.
Step 8: Second Rise
Loosely cover your pans with a dry towel or greased plastic wrap. Let them sit again for 45 minutes to an hour until the dough rises about 1 inch above the pan’s edge. This second proof gives Homemade Bread its height and signature texture.
Step 9: Bake the Loaves
Preheat your oven to 350 F. Slide in your risen loaves and bake for 30 to 33 minutes. You want a rich golden top, and when you tap a loaf it should sound hollow—your signal that it’s baked through!
Step 10: Cool and Finish
Tip the hot loaves out of their pans and onto a wire rack. While they’re still warm, brush the tops with butter for added flavor and a soft, shiny crust. Resist slicing right away; give them at least 10 minutes to cool. This patience pays off with perfect slices.
Step 11: Storing Homemade Bread
Once completely cool, stash your bread in an airtight container or bag at room temperature for 2-3 days, or pop it in the fridge to keep fresh up to 5 days. Now you’re all set for toast, sandwiches, or just-thick slices with butter!
How to Serve Homemade Bread
Garnishes
Classic Homemade Bread shines as-is, but a little touch on top can make it feel extra special. Brush with a little more butter, sprinkle with flaky sea salt, or add a dusting of seeds (think sesame, poppy, or sunflower) right before baking for a gorgeous crust.
Side Dishes
This bread turns even the simplest meal into a comfort feast! Pair soft, warm slices with soups like tomato basil or chicken noodle, serve alongside a hearty stew, or tuck it next to a vibrant salad—Homemade Bread makes everything better.
Creative Ways to Present
Go beyond the loaf! Try thinly slicing and toasting for crostini, make elegant little tea sandwiches, or cut thick cubes for savory bread pudding. Transform Homemade Bread into garlic toast, croutons, or even a dreamy French toast breakfast—each version is a new adventure!
Make Ahead and Storage
Storing Leftovers
Keep any extra bread in an airtight container at room temperature for up to three days; if your kitchen runs warm, it’s safer in the fridge for up to five days. To help it stay fresh, wrap it tightly to protect the crumb from drying out.
Freezing
Homemade Bread freezes beautifully! Let your loaves cool completely, then wrap snugly in plastic wrap and pop into a freezer bag. Sliced bread can be separated with parchment for easy thawing one piece at a time. It’ll keep for up to three months, ready whenever you need it.
Reheating
To recapture that just-baked flavor, warm slices in a toaster, or pop a loaf (thawed if frozen) into a 350 F oven for 10 to 15 minutes. A hint of warmth brings back the fresh-baked aroma and restores the soft, pillowy texture everyone craves.
FAQs
Why does my Homemade Bread turn out dense?
If your bread feels heavy, the culprit is usually under-proofing (not letting the dough rise enough), using old yeast, or adding too much flour. Always check your yeast and give your dough the time it needs to double in size for a light crumb.
Can I use whole wheat flour instead of white flour?
Absolutely! You can substitute whole wheat for half or even all of the white flour, but be aware it will make the bread denser and a little earthier in taste. For a lighter loaf, use half whole wheat and half all-purpose or bread flour.
Is it okay to use instant yeast instead?
Yes, instant yeast works in place of active dry yeast. You can skip the proofing step and add it straight to your dry ingredients, though many bakers still proof for guaranteed rise. Just be sure to use the same amount.
What’s the best way to get a really soft crust on Homemade Bread?
Brushing the top with butter as soon as it comes out of the oven keeps the crust soft and flavorful. Also, avoid overbaking and consider covering the bread lightly with foil if it starts browning too quickly.
How do I know when the bread is fully baked?
The classic test is tapping the top: a done loaf will sound hollow. If you have a thermometer, the center should read about 190-200 F for perfectly baked Homemade Bread.
Final Thoughts
There’s something deeply satisfying about baking your own Homemade Bread—each loaf a little masterpiece, warm from your oven and perfect for sharing (or savoring solo with butter). Don’t wait for a special occasion; jump in and try it. From the first slice to the last crumb, you’ll taste the difference homemade makes!
PrintHomemade Bread Recipe
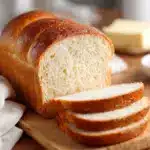
This homemade bread recipe yields two perfectly soft and fluffy loaves that are great for sandwiches, toast, or enjoying on their own. With simple ingredients and easy steps, you’ll have fresh bread ready to be devoured in no time!
- Prep Time: 20 minutes
- Cook Time: 30-33 minutes
- Total Time: Approx. 3 hours
- Yield: 2 loaves 1x
- Category: Bread
- Method: Baking
- Cuisine: Any
- Diet: Vegetarian
Ingredients
Dough:
- 2 cups warm water (474g)
- 1 Tablespoon active dry yeast
- 1/4 cup honey or sugar (85g honey, 50g sugar)
- 2 teaspoons salt
- 2 Tablespoons oil (30 ml)
- 4 – 5 1/2 cups all-purpose or bread flour (500g-688g)
Instructions
- Prepare the dough: In a large bowl or stand mixer, add the yeast, water, and a pinch of sugar or honey. Allow to rest for 5-10 minutes until foaming and bubbly.
- Add remaining sugar or honey, salt, oil, and 3 cups of flour. Mix to combine.
- Add another cup of flour and mix to combine. With the mixer running, add more flour, ½ cup at a time, until the dough begins to pull away from the sides of the bowl.
- Knead the dough: Mix the dough for 4-5 minutes on medium speed (or knead with your hands on a lightly floured surface for 5-8 minutes).
- First Rise: Allow the dough to rise in a warm place until doubled in size, about 1 1/2 hours.
- Spray two 9×5” bread pans generously with cooking spray on all sides.
- Punch the dough down. Divide into two equal portions. Shape each ball into long logs and place into greased loaf pans.
- Second rise: Allow dough to rise again until risen about 1 inch above the loaf pans.
- Bake: Preheat oven to 350°F. Bake bread for about 30-33 minutes, or until golden brown on top.
- Invert the loaves onto a wire cooling rack. Brush the tops with butter and allow to cool before slicing.
- Store: Once cool, store in an airtight container for 2-3 days at room temperature or up to 5 days in the refrigerator.
Nutrition
- Serving Size: 1 slice
- Calories: Approx. 110 kcal
- Sugar: 2g
- Sodium: 150mg
- Fat: 2g
- Saturated Fat: 0g
- Unsaturated Fat: 2g
- Trans Fat: 0g
- Carbohydrates: 20g
- Fiber: 1g
- Protein: 3g
- Cholesterol: 0mg
Keywords: Homemade bread, Bread recipe, Fresh bread, Sandwich bread


