How to Make Buttermilk at Home Recipe
There’s something undeniably satisfying about mastering basics in your own kitchen, and learning how to make buttermilk at home is one of those rewarding, time-saving tricks that instantly upgrades your cooking. This quick, clever method creates buttermilk with just two ingredients, letting you enjoy moist pancakes, ultra-tender cakes, or crispy fried chicken whenever inspiration strikes. Get ready to skip the supermarket run and embrace fresh, tangy buttermilk made completely on your terms, with your favorite milk, in mere minutes!
Ingredients You’ll Need
The beauty of this method is its simplicity—every ingredient is purposeful and easily found right in your kitchen. Each one plays a starring role, blending seamlessly to give you the acidity and creaminess true buttermilk provides in baking and cooking.
- Lemon juice or white vinegar: These pantry staples deliver the acidity needed to mimic store-bought buttermilk’s signature tang and activate baking soda in recipes.
- Milk of your choice (dairy or non-dairy): Whether you use whole milk for richness, skim for lightness, or plant-based for dietary needs, this is the creamy base that transforms when combined with acid.
How to Make How to Make Buttermilk at Home
Step 1: Choose and Measure Your Milk
Begin by pouring 1 cup of your preferred milk into a small mixing bowl or measuring cup. If you’re going plant-based, opt for soy or oat milk for the best consistency—they mimic real buttermilk’s texture the closest. Use dairy milk for the classic flavor and creamy results you’d expect in Southern biscuits or pancakes.
Step 2: Add the Acid
Next, add 1 tablespoon of freshly squeezed lemon juice or plain white vinegar to the milk. There’s no need for anything fancy here—just make sure whatever acid you use is fresh and potent. This step is where the magic happens: the acid transforms ordinary milk into a tangy, slightly thickened buttermilk stand-in.
Step 3: Stir and Let it Sit
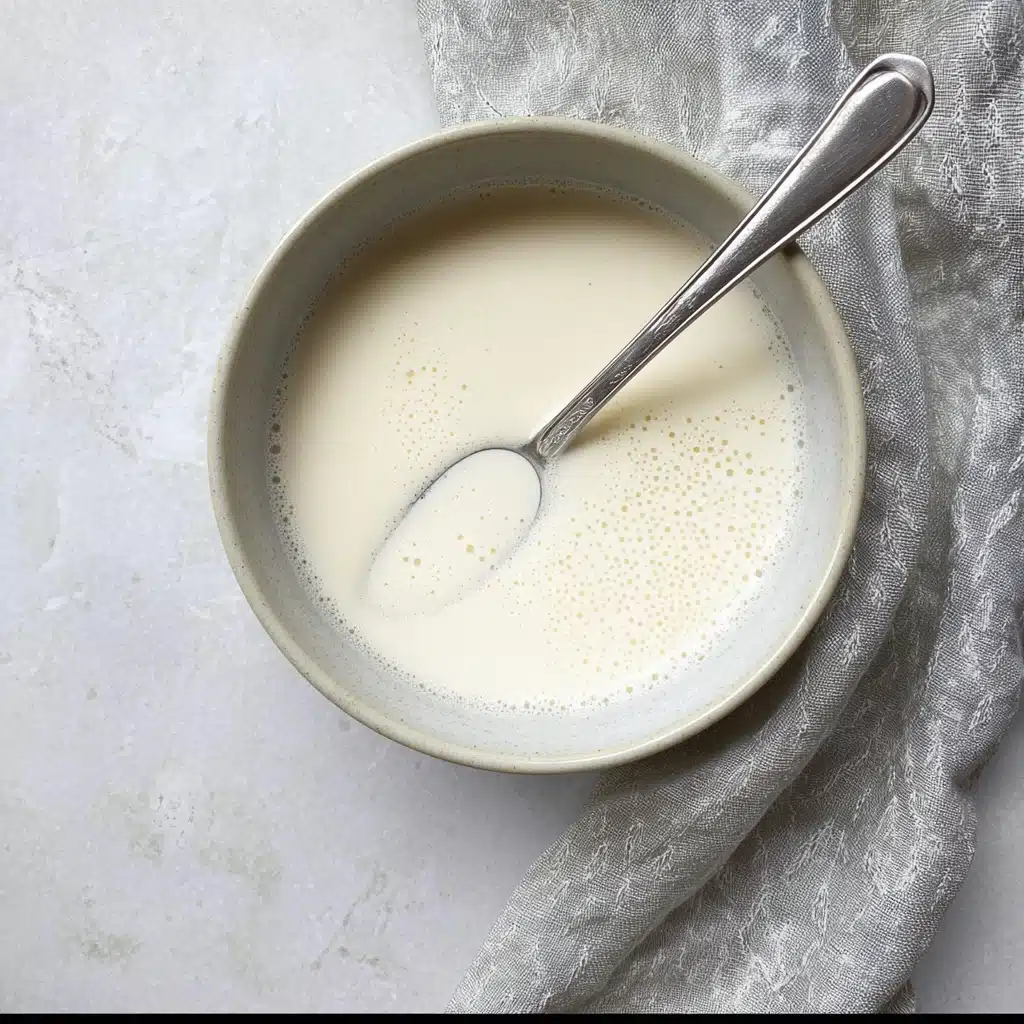
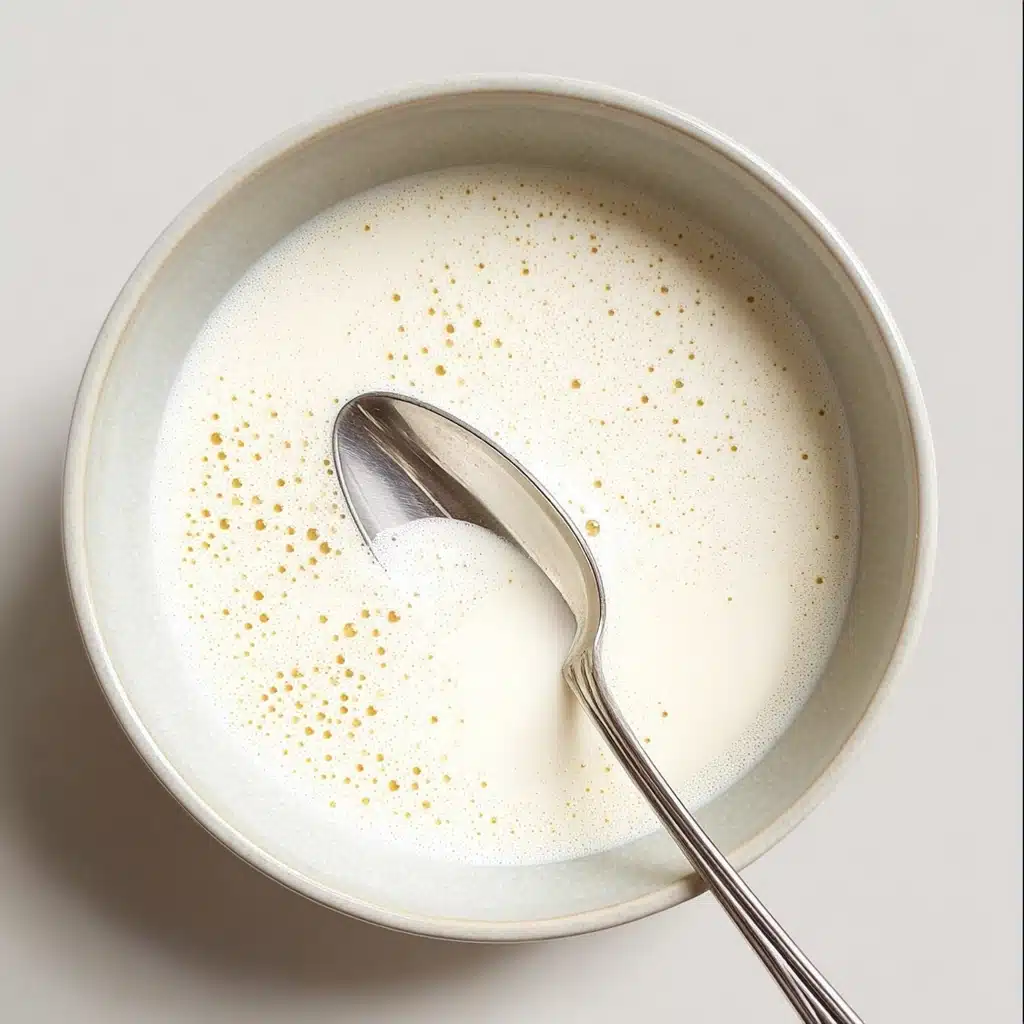
Give the mixture a thorough stir so the acid is fully combined with the milk. Then, let it rest at room temperature for about 5 minutes. During this short waiting period, the milk will curdle gently, thickening slightly and developing that unmistakable buttermilk zip while staying pourable. That’s when you know your homemade buttermilk is ready to work its magic in your next recipe.
Step 4: Use Immediately or Store
Your homemade buttermilk is now ready to use right away in any recipe calling for buttermilk! If you’d like, pour it into a clean jar and refrigerate for up to 3 days. Just make sure to give it a quick stir before using, as separation is natural.
How to Serve How to Make Buttermilk at Home
Garnishes
While buttermilk itself isn’t typically served alone, you can jazz up any baked good, pancake, or muffin made with your homemade creation by topping with a dusting of powdered sugar, a drizzle of honey, or a handful of fresh berries for a vibrant finish. These little touches highlight the subtly tangy flavor you’ve crafted from scratch.
Side Dishes
Classic buttermilk-rich foods pair wonderfully with a variety of sides. Try serving your buttermilk pancakes with crispy bacon and scrambled eggs, or accompany buttermilk biscuits with savory sausage gravy. For lighter fare, a salad with a homemade buttermilk dressing is always a crowd-pleaser.
Creative Ways to Present
If you’re keen to impress, use your homemade buttermilk in a range of sweet and savory foods—from rich chocolate cakes to creamy salad dressings. For a playful twist, create a buttermilk-based dip for veggie platters, or invent a tangy buttermilk marinade for chicken. No one needs to know this was made in a flash!
Make Ahead and Storage
Storing Leftovers
You can easily make a larger batch of buttermilk and keep the extra in an airtight container in your fridge for up to 3 days. Just give it a shake or stir before each use, as some separation may occur—and that’s completely normal!
Freezing
Did you know homemade buttermilk freezes beautifully? Simply portion it into ice cube trays or small containers, freeze, and then transfer to a zip-top bag or freezer-safe container for up to 3 months. Thaw in the refrigerator overnight before using for best results.
Reheating
There’s no need to heat your homemade buttermilk before using. If thawed from frozen, let it come to room temperature and give it a good stir. Use as you would chilled buttermilk in any recipe, or add it straight to batters and doughs.
FAQs
Can I use non-dairy milk in How to Make Buttermilk at Home?
Absolutely! Soy milk and oat milk are especially good because they thicken well with acid and replicate the mouthfeel of dairy buttermilk. Simply substitute cup for cup as you would with regular milk.
Why does the milk curdle—should I be worried?
The gentle curdling you see is exactly what you want! The acid causes milk proteins to coagulate, creating the thickened and tangy character of traditional buttermilk. It’s perfectly safe and intended for baking and cooking.
Can I use bottled lemon juice instead of fresh?
Fresh lemon juice gives the brightest flavor and most consistent results, but bottled will do in a pinch. Just check there aren’t extra additives that could impact the flavor or acidity.
How do I know if my How to Make Buttermilk at Home is ready?
After about five minutes, the milk should look slightly thick and have tiny curdled bits floating. That’s when it’s time to use it. A quick taste should reveal a gentle tartness, just like store-bought buttermilk.
What’s the best way to measure out the acid for precise results?
A simple kitchen teaspoon or tablespoon is all you need! Level off 1 tablespoon of acid for every 1 cup of milk for reliable results every time.
Final Thoughts
There’s something wonderfully empowering about knowing how to make buttermilk at home, especially when a recipe calls for it and there’s none in the fridge. Not only will it elevate your baking and cooking, but you’ll love how quick and customizable it is. Go ahead, give it a try—you’ll be amazed at the freshness and flavor you get from such humble ingredients!
PrintHow to Make Buttermilk at Home Recipe
Learn how to easily make buttermilk at home using just two simple ingredients. This DIY buttermilk recipe is quick, cost-effective, and produces a tangy buttermilk perfect for baking and cooking.
- Prep Time: 5 minutes
- Total Time: 5 minutes
- Yield: 1 cup of buttermilk 1x
- Category: Beverage
- Method: Mixing
- Cuisine: American
- Diet: Vegetarian
Ingredients
Ingredients:
- 1 tablespoon freshly squeezed lemon juice or white vinegar
- 1 cup milk of your choice (dairy or non-dairy)
Instructions
- Pour the milk into a bowl.
- Stir well to combine, then let it sit for about 5 minutes. The milk will begin to curdle and become slightly acidic, mimicking the tangy taste and texture of buttermilk.
- Use this homemade buttermilk in your recipe as needed. Enjoy!
Add 1 tablespoon of lemon juice or vinegar to the milk.
Nutrition
- Serving Size: 1 cup
- Calories: 150
- Sugar: 12g
- Sodium: 100mg
- Fat: 8g
- Saturated Fat: 5g
- Unsaturated Fat: 3g
- Trans Fat: 0g
- Carbohydrates: 13g
- Fiber: 0g
- Protein: 8g
- Cholesterol: 30mg
Keywords: Buttermilk, Homemade Buttermilk, DIY Buttermilk, Buttermilk Recipe, Buttermilk Substitute
