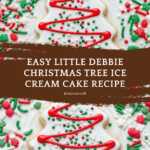
Little Debbie Christmas Tree Ice Cream Cake Recipe
Introduction
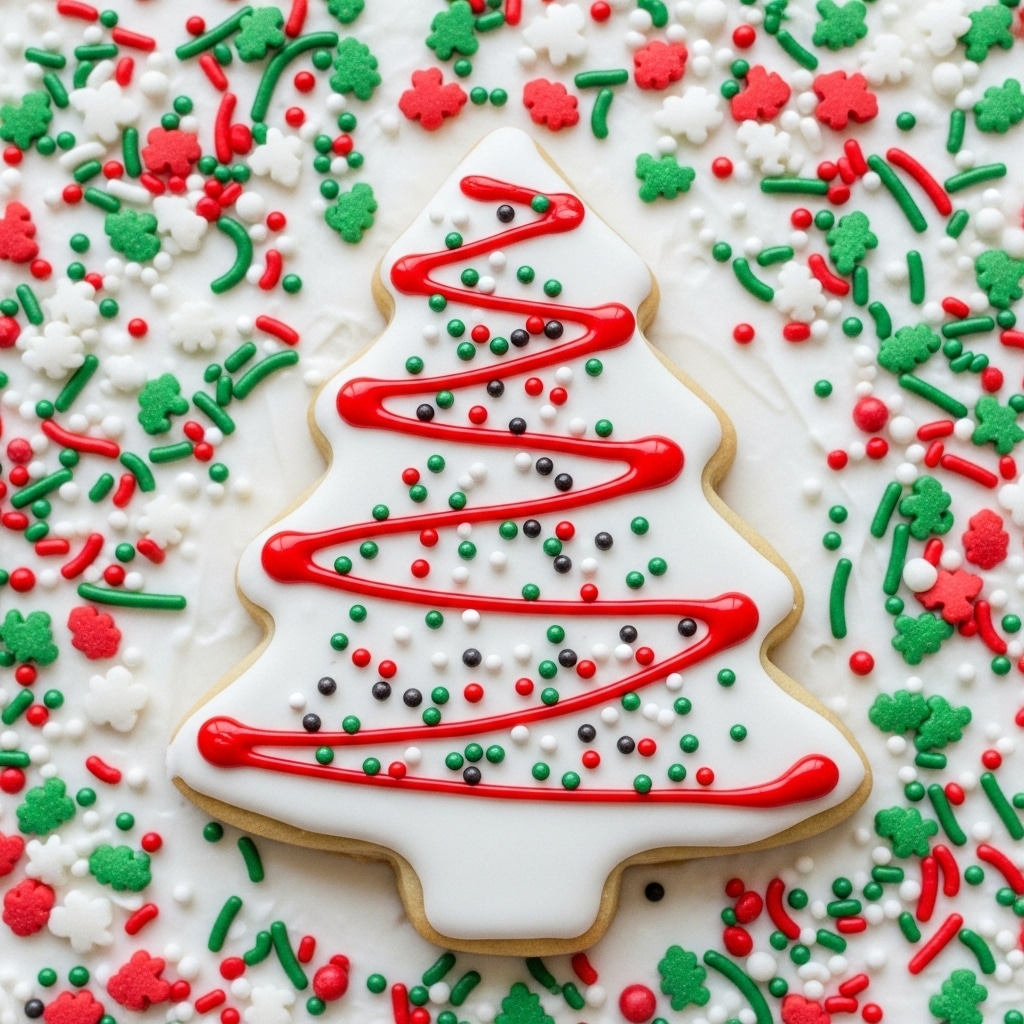
This Little Debbie Christmas Tree Ice Cream Cake is a festive and fun dessert perfect for the holidays. Combining creamy vanilla ice cream, fluffy Cool Whip, and the nostalgic flavor of Christmas Tree Cakes, it’s an easy treat that will impress your guests.
Ingredients
- 16 oz Cool Whip
- 1 box Little Debbie Christmas Tree Cakes (reserve one cake for top)
- ½ gallon vanilla ice cream
- 1 cup sprinkles (red and green recommended)
Instructions
- Step 1: Prepare an 8×8 inch pan for assembling your cake.
- Step 2: Mix ⅔ of the Cool Whip with the ½ gallon of softened vanilla ice cream. Stir in some sprinkles if desired to add color and texture.
- Step 3: Crush all the Little Debbie Christmas Tree Cakes and spread them evenly on the bottom of the 8×8 pan.
- Step 4: Pour the ice cream and Cool Whip mixture over the crushed cakes, spreading it evenly.
- Step 5: Use the remaining Cool Whip to frost the top layer of the cake. Place the reserved Christmas Tree Cake on top as a decorative finish.
- Step 6: Cover the pan with aluminum foil and freeze overnight to allow the cake to set.
- Step 7: Before serving, let the cake sit at room temperature for a few minutes. Slice using a knife warmed under hot water for clean cuts.
- Step 8: Enjoy your festive and creamy ice cream cake!
Tips & Variations
- Softening the ice cream slightly before mixing will make combining the ingredients easier and ensure a smooth texture.
- Try different colored sprinkles or add chopped nuts for extra crunch.
- Use a pan with removable sides for easier slicing and serving.
Storage
Store the cake covered in the freezer for up to one week. When ready to serve, allow it to thaw slightly at room temperature for about 5–10 minutes to make slicing easier. Avoid refreezing once thawed.
How to Serve
Serve this delicious recipe with your favorite sides.
FAQs
Can I use a different ice cream flavor?
Yes, vanilla works best for classic flavor, but you can experiment with chocolate or peppermint for a festive twist.
How do I get clean slices when serving?
Run your knife under hot water and wipe it dry before slicing. This helps the knife cut through the frozen cake smoothly without sticking.
PrintLittle Debbie Christmas Tree Ice Cream Cake Recipe

This festive Little Debbie Christmas Tree Ice Cream Cake is a delightful no-bake dessert combining creamy vanilla ice cream, whipped topping, and the iconic Christmas Tree Cakes. Perfect for holiday celebrations, it layers crushed cakes and a colorful sprinkle-filled ice cream mixture to create a fun and easy-to-make treat that melts in your mouth.
- Prep Time: 15 minutes
- Cook Time: 0 minutes
- Total Time: 12 hours 15 minutes
- Yield: 8 servings 1x
- Category: Dessert
- Method: No-Cook
- Cuisine: American
Ingredients
Ice Cream Mixture
- 16 oz Cool Whip
- ½ gallon Vanilla Ice Cream
- 1 cup Red and Green Sprinkles
Cake Layer
- 1 box Little Debbie Christmas Tree Cakes (reserve one cake for top decoration)
Instructions
- Prepare the Pan: Grab an 8×8 inch baking pan to assemble your ice cream cake.
- Mix Cool Whip and Ice Cream: In a large bowl, combine two-thirds of the Cool Whip with the half-gallon of vanilla ice cream. Stir gently to blend, then fold in about half of the sprinkles to incorporate festive color into the ice cream mixture.
- Prepare the Cake Base: Crush all the Christmas Tree Cakes except the one reserved for the top into small pieces. Evenly spread the crushed cakes on the bottom of the 8×8 pan to create a flavorful base layer.
- Add Ice Cream Mixture: Pour and spread the Cool Whip and ice cream mixture evenly over the crushed cake layer, smoothing the top for an even finish.
- Ice the Cake: Use the remaining Cool Whip as icing to cover the top of the ice cream layer completely, creating a smooth and creamy finishing layer.
- Freeze Overnight: Cover the assembled cake with aluminum foil and freeze it overnight to allow it to set firmly.
- Serve: When ready to enjoy, remove the cake from the freezer and let it sit at room temperature for a few minutes. Use a knife warmed under hot water to slice cleanly through the frozen layers.
- Garnish and Enjoy: Top the cake with the reserved Little Debbie Christmas Tree Cake for decoration, add remaining sprinkles if desired, and serve immediately to delight your guests.
Notes
- Allow the cake to soften slightly before slicing to ensure clean cuts.
- Using a hot knife prevents the ice cream from sticking and cracking the layers.
- You can substitute sprinkles colors to match different occasions.
- Ensure the cake is well covered with foil in the freezer to avoid freezer burn.
- Reserve one Christmas Tree Cake specifically for the top decoration to enhance presentation.
Keywords: Ice Cream Cake,Little Debbie,Christmas Tree Cakes,Holiday Dessert,No Bake,Festive Dessert,Vanilla Ice Cream Cake,Christmas Dessert

