Perfect Dutch Oven Pumpkin Bread – Alrightwithme Recipe
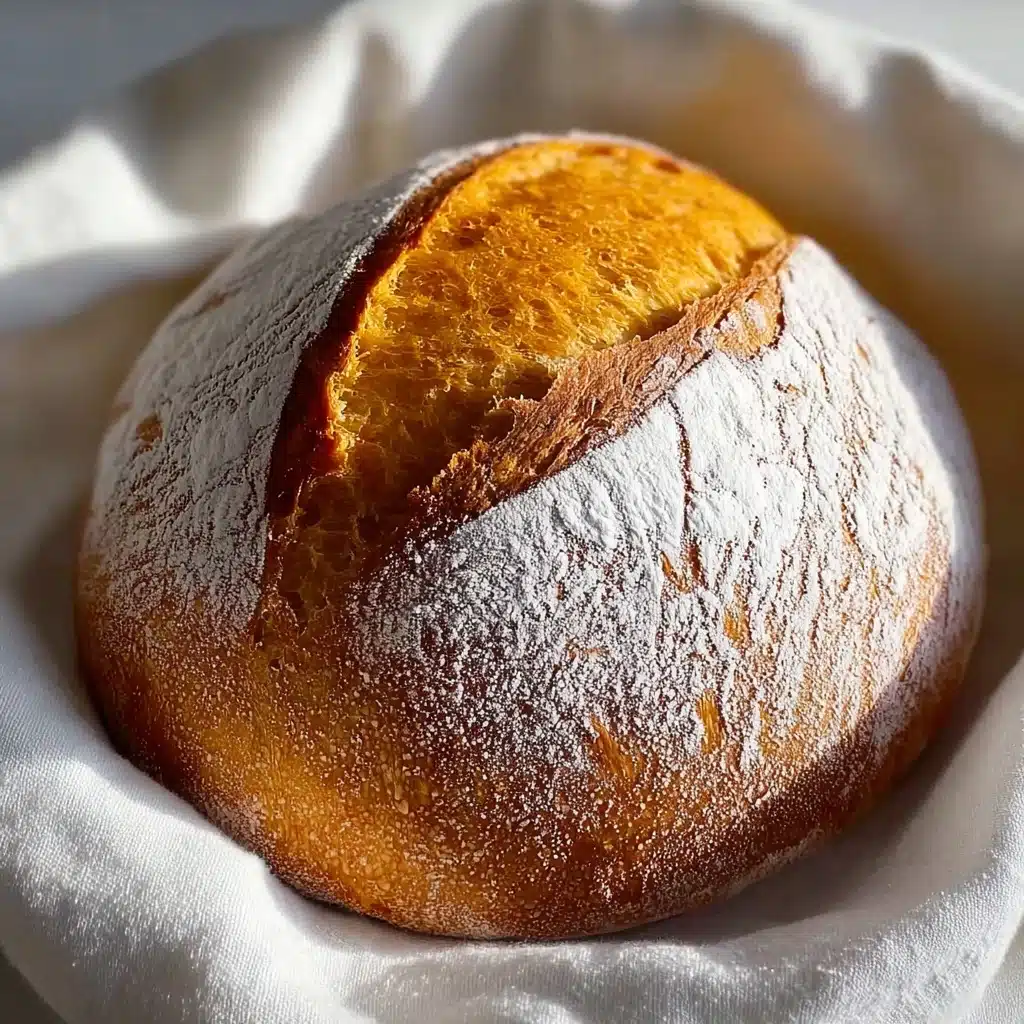
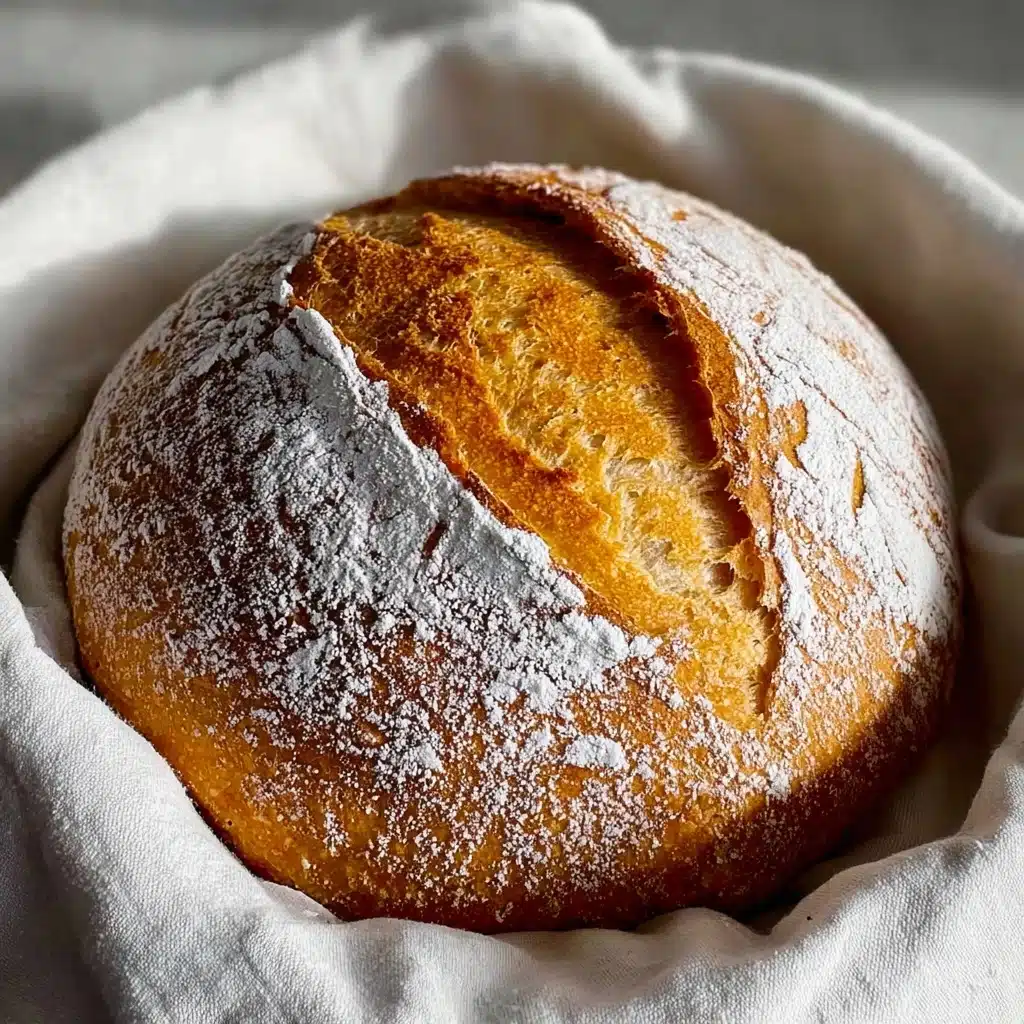
If you’ve ever wished for a bread recipe that combines simple ingredients with incredible flavor and rustic charm, you are going to fall in love with the Perfect Dutch Oven Pumpkin Bread – Alrightwithme. This loaf is an absolute showstopper, with its beautifully golden crust, whisper-soft crumb, and that unmistakable cozy pumpkin flavor that makes fall mornings extra special. Baking it in a Dutch oven not only gives it that artisan bakery-style crust but also locks in moisture for a tender interior that will keep you coming back for more. Whether you’re new to bread baking or a seasoned pro, this recipe feels like a warm hug from the kitchen. I can’t wait to share it with you!
Ingredients You’ll Need
What I love most about this recipe is how few ingredients it calls for, yet each one plays a crucial role in creating the perfect texture, flavor, and crust. From the smooth, vibrant pumpkin puree that adds moisture and subtle sweetness, to the bread flour which gives the loaf structure and chew, every element is essential.
- Cool water (3/4 cup or 180 g): Activates the yeast and keeps the dough just hydrated enough for a tender crumb without being overly sticky.
- Active dry yeast (1/2 tsp): This is your magical agent to make the bread rise beautifully and develop great flavor; use 1/4 tsp for an overnight rise if you want to slow things down.
- Pumpkin puree (1 cup or 225 g): The star ingredient that lends moisture, gorgeous color, and that subtle, natural sweetness that sets this bread apart.
- Bread flour (3 cups or 425 g): Gives the dough the perfect chew and structure, helping the loaf hold its shape during baking.
- Fine sea salt (2 tsp): Brings out the flavors, balances sweetness, and enhances the pumpkin’s natural earthiness wonderfully.
How to Make Perfect Dutch Oven Pumpkin Bread – Alrightwithme
Step 1: Activate the Yeast and Mix Pumpkin
Start by pouring the cool water into a large bowl, then sprinkle your active dry yeast on top. Give it a gentle whisk or stir to help it dissolve and let it rest for a few minutes—this waking-up period is what gets your dough rising like a champ. Next, stir in the pumpkin puree until the mixture turns into a perfectly smooth, vibrant orange batter. Whisk thoroughly here to avoid any lumps of pumpkin that could cause uneven texture later. This step is easy but pivotal for that silky base that makes this loaf extra special.
Step 2: Combine Dry Ingredients and Form Dough
Add the bread flour and fine sea salt straight into your pumpkin-yeast mixture. Stir with a rubber spatula as much as possible, then use your hands to fold and squeeze until all flour is absorbed, making sure no powdery bits hide beneath the surface. The dough will feel sticky and a bit wild at this point—that’s a good sign. Cover it tightly with plastic wrap and let it rest at room temperature for an hour to kickstart the gluten development.
Step 3: Perform Dough Folds and First Rise
After the initial hour, wet your fingers and gently fold the dough onto itself several times, pulling and tucking with care until it tightens and gently resists folding. This folding improves the dough structure and encourages an airy crumb. Cover again and leave the bowl to rise until it grows about one-third in size, around 3 to 4 hours. Keep an eye on large air bubbles and gently press them down to prevent overly large holes. When done, pop the dough into the fridge for a long chill of about 12 hours or overnight—this slow fermentation rounds out the flavors beautifully.
Step 4: Shape and Final Proof
The next morning, recover your chilled dough onto a floured surface. Using floured hands, tuck the edges underneath and create a tight, round loaf—like giving your dough a cozy little hug. Place it on parchment paper, dust a little flour on top, then cover with a tea towel. Let it rest for 3 to 4 hours at room temperature until it looks puffy and slightly risen. This final proof helps your bread develop that tender, fluffy interior you’re dreaming of.
Step 5: Preheat Dutch Oven and Score the Dough
Now it’s time to bring the magic of the Dutch oven into play. Place a 4 to 6-quart Dutch oven in your oven and preheat to 450°F (230°C). Let it heat up for at least 30 minutes so it’s blazing hot for baking. Meanwhile, take a sharp paring knife and score your dough with a quick, confident slash about half a centimeter deep. This step might feel intimidating, but it ensures your bread expands beautifully without cracking unpredictably.
Step 6: Bake Covered, Then Uncovered
Carefully remove your hot Dutch oven from the oven and lift the dough on its parchment paper straight into the pot. Cover it with the lid and return it to the center oven rack. Bake covered for 20 minutes to lock moisture inside and create that signature crust. Then remove the lid and bake for another 20 to 25 minutes until the loaf turns a deep golden color and the crust feels firm. This two-stage bake is what makes the Perfect Dutch Oven Pumpkin Bread – Alrightwithme so stunning and delectable.
Step 7: Cool Before Slicing
Once baked, gently lift the bread out and let it cool on a wire rack for at least an hour. I know it’s tempting to cut in right away, but this resting period helps the crumb set and intensifies the flavor. The reward? Every slice comes out clean and each bite is flavorful and tender without being gummy. Trust me, it’s worth the wait!
How to Serve Perfect Dutch Oven Pumpkin Bread – Alrightwithme
Garnishes
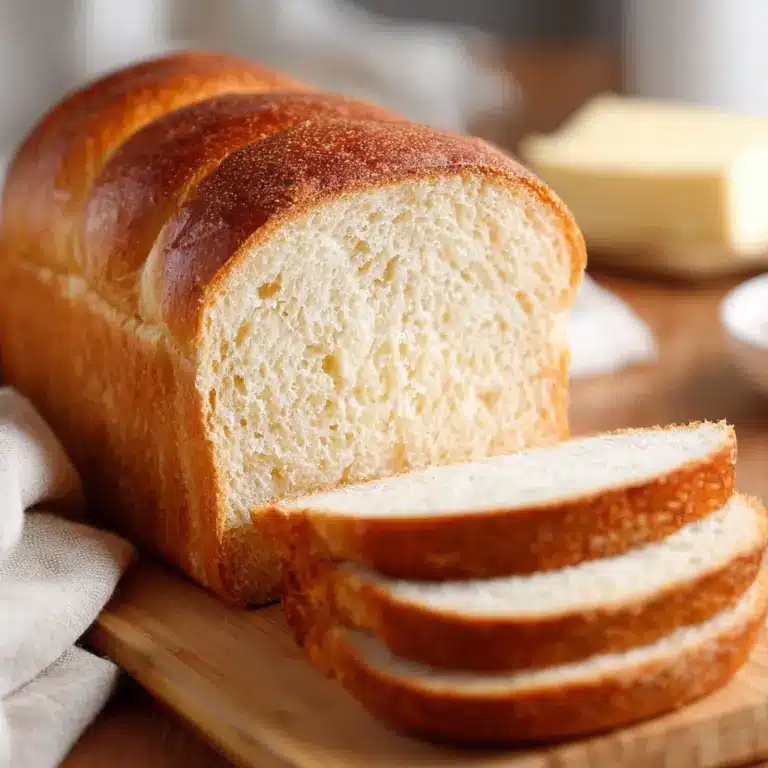
This bread is incredible on its own, but why not elevate it with some simple garnishes? A slather of creamy butter or a drizzle of honey enhances the warm pumpkin notes beautifully. For a little extra indulgence, sprinkle a pinch of cinnamon sugar on top of the butter or add a smear of cream cheese to create a luscious finish that will make every bite feel like dessert.
Side Dishes
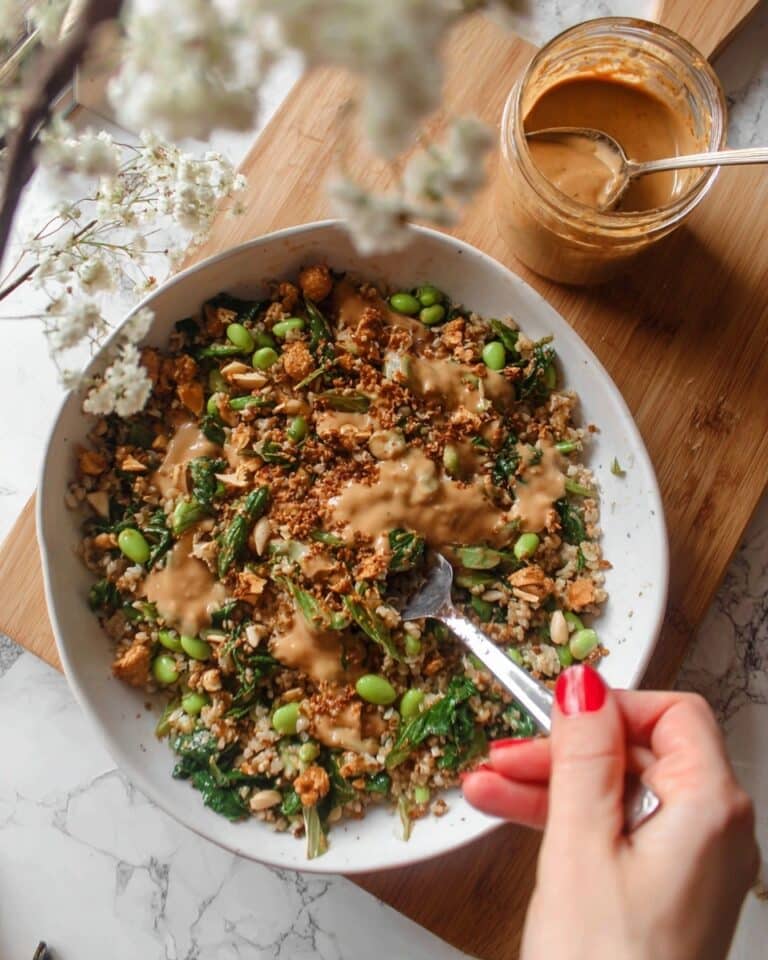
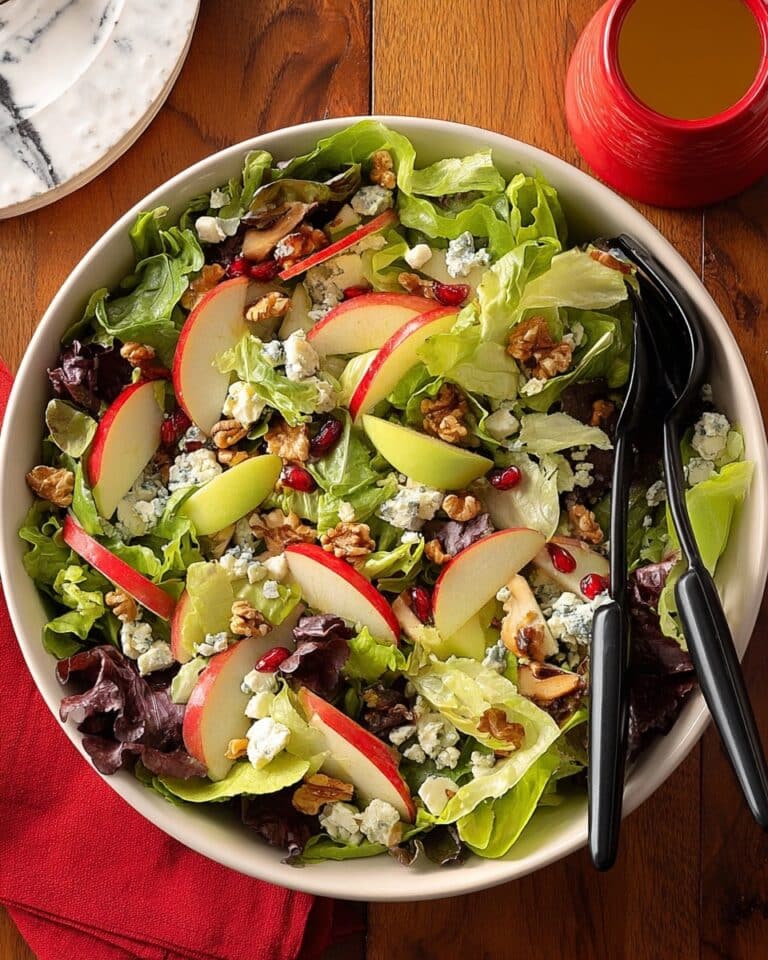
Pair this pumpkin bread with your favorite warm soup or hearty stew. It’s perfect for soaking up pumpkin chili or butternut squash soup, making your meal comforting and satisfying. It also stands out alongside sharp cheeses and apples, creating a delightful autumn-themed snack platter that your guests will adore.
Creative Ways to Present
Looking to wow your family or guests? Slice the bread thick and lightly toast it, then top with smashed avocado and a sprinkle of chili flakes or pumpkin seeds for an autumn twist on avocado toast. Alternatively, transform slices into French toast to bring pumpkin spice vibes to your breakfast table. The versatility of the Perfect Dutch Oven Pumpkin Bread – Alrightwithme means it shines just as brightly in sweet or savory presentations.
Make Ahead and Storage
Storing Leftovers
To keep your pumpkin bread at its best, wrap it tightly in plastic wrap or place it in an airtight container once completely cooled. It will stay fresh up to three days at room temperature. If you plan to enjoy it over several days, storing it in the refrigerator extends its life, but be aware it might dry out slightly faster.
Freezing
This bread freezes wonderfully. Slice it before freezing so you can pull out only what you need. Wrap slices individually or the whole loaf tightly in plastic wrap, then foil. Frozen pumpkin bread keeps well for up to 3 months. Just thaw at room temperature or toast slices straight from the freezer for a warm treat whenever the craving hits.
Reheating
The key to breathing new life into leftover pumpkin bread is gentle reheating. Pop slices into a toaster or toaster oven until just warm and lightly crisp. Alternatively, wrap the whole loaf in foil and warm in the oven at 300°F (150°C) for about 10-15 minutes. This restores that freshly baked feel and makes the crust pop just like the first day.
FAQs
Can I use canned pumpkin puree for this recipe?
Absolutely! Canned pumpkin puree works perfectly and saves time. Just make sure to use pure pumpkin and not pumpkin pie filling, which contains added sugar and spices that would alter the bread’s flavor.
Why do I need to chill the dough overnight?
Chilling the dough slows fermentation, deepens the flavor, and improves the bread’s texture. It also makes the dough easier to handle when shaping and delivers a more complex, developed taste.
Can I substitute all-purpose flour instead of bread flour?
You can, but bread flour provides more gluten which helps the dough rise better and gives a nicer chew. Using all-purpose flour may result in a slightly denser bread, but it will still be delicious.
What if I don’t have a Dutch oven?
If you don’t have a Dutch oven, a heavy oven-safe pot with a lid or a covered roasting pan can work. The lid traps steam, helping create that lovely crust. Just make sure it’s oven-safe up to 450°F (230°C).
How long will this bread keep fresh once baked?
Freshly baked Perfect Dutch Oven Pumpkin Bread – Alrightwithme will stay moist and tasty for up to 3 days at room temperature. Beyond that, refrigeration or freezing will keep it fresh longer.
Final Thoughts
Trying the Perfect Dutch Oven Pumpkin Bread – Alrightwithme is like inviting warmth and comfort into your kitchen — with minimal fuss and maximum joy. Its simple ingredients, intuitive steps, and stunning results make it a bread you’ll want to bake again and again. Whether you’re savoring it plain, toasted, or with your favorite topping, it’s guaranteed to brighten your day. So grab your Dutch oven, pumpkin puree, and get ready to impress yourself with this beautiful loaf that feels like a hug from the inside out!
PrintPerfect Dutch Oven Pumpkin Bread – Alrightwithme Recipe

This Perfect Dutch Oven Pumpkin Bread recipe delivers a moist, flavorful loaf with a tender crumb and crispy crust, ideal for autumn baking. Utilizing a simple mixture of pumpkin puree, bread flour, and yeast, the dough undergoes a slow rise to develop deep flavors before baking in a preheated Dutch oven for that perfect crust and texture. This pumpkin bread is naturally vegan, hearty, and comforting, perfect for breakfast or as a wholesome snack.
- Prep Time: 20 minutes
- Cook Time: 45 minutes
- Total Time: 16 hours 5 minutes (including resting and rising times)
- Yield: 1 loaf (about 10–12 slices) 1x
- Category: Bread
- Method: Dutch Oven Baking, No-Knead
- Cuisine: American
- Diet: Vegan
Ingredients
Liquid Ingredients
- 3/4 cup cool water (180 g)
- 1 cup pumpkin puree (225 g)
Dry Ingredients
- 1/2 tsp active dry yeast (use 1/4 tsp for overnight rise)
- 3 cups bread flour (425 g)
- 2 tsp fine sea salt
Instructions
- Activate Yeast: In a large bowl, pour the cool water and sprinkle the active dry yeast on top. Gently whisk or stir to dissolve the yeast and let it sit for a few minutes until it becomes foamy, indicating activation.
- Mix Pumpkin Puree: Add the pumpkin puree to the activated yeast mixture and whisk thoroughly until smooth and lump-free, ensuring an even orange liquid base.
- Combine Dry Ingredients: Add bread flour and fine sea salt to the bowl. Stir initially with a rubber spatula, then use your hands to squeeze and fold the dough until all flour is absorbed. The dough will be sticky at this stage.
- First Rise and Folding: Cover the bowl with plastic wrap and let it rest at room temperature for 1 hour. Afterward, wet your fingers and fold the dough over itself multiple times, stopping when it tightens. Cover again and let rise for 3-4 hours until dough volume increases by about one-third, knocking out large air bubbles.
- Chill Dough Overnight: Transfer the covered bowl to the refrigerator and rest the dough for roughly 12 hours or overnight to enhance flavor and texture.
- Shape the Dough: The next morning, turn the chilled dough onto a floured surface. With floured hands, tuck edges underneath to form a tight, smooth round loaf. Place the dough ball on a parchment paper square, lightly dust with flour, cover with a tea towel, and let rise at room temperature for 3-4 hours until puffy and slightly expanded.
- Preheat Dutch Oven: Place a 4-6 quart Dutch oven in the oven and preheat to 450°F (230°C). After the oven reaches temperature, let the Dutch oven stay inside for an additional 10-20 minutes to ensure thorough heating.
- Score the Dough: Using a sharp paring knife, make a shallow slash about ½ cm deep on top of the risen dough. This controls expansion for an attractive loaf.
- Bake Covered: Carefully remove the hot Dutch oven from the oven, lift the dough with parchment paper, and place it inside. Cover with the lid and bake on the center rack for 20 minutes.
- Bake Uncovered: Remove the lid and continue baking for 20-25 minutes more until the crust is deep golden and feels firm to the touch.
- Cool Before Slicing: Transfer the bread out of the Dutch oven and onto a cooling rack. Let it cool completely for at least 1 hour to allow the crumb to set, resulting in cleaner slices and better flavor.
Notes
- The dough is sticky throughout the process, which is normal; avoid adding too much extra flour to keep the bread moist.
- Using a sharp knife for scoring ensures a clean slash and controlled bread expansion during baking.
- The long, slow rise and overnight chill improve fermentation, flavor, and texture.
- Allowing the bread to cool completely before slicing prevents a gummy crumb and enhances taste.
- This recipe is naturally vegan, but ensure the yeast used is vegan-certified if strict adherence is required.
- If short on time, use half the yeast and skip the overnight fridge rest, though flavor and texture will be less developed.
Nutrition
- Serving Size: 1 slice (1/12th of loaf)
- Calories: 150
- Sugar: 2g
- Sodium: 320mg
- Fat: 1g
- Saturated Fat: 0g
- Unsaturated Fat: 1g
- Trans Fat: 0g
- Carbohydrates: 31g
- Fiber: 3g
- Protein: 5g
- Cholesterol: 0mg
Keywords: pumpkin bread, Dutch oven bread, no-knead bread, vegan pumpkin bread, autumn baking, homemade bread, easy bread recipe


